Even if you don't watch Fixer Upper, I'm almost certain you've at least heard of Joanna Gaines (the Queen of Shiplap)... if her name or that show is news to you then you need to fit a Netflix binge into your agenda ASAP!!
Shiplap is all the rage right now, but if you're like me and need to take baby steps before doing something more permanent then I've found the perfect solution for you - Wallpops! It's peel and stick wallpaper, and there are plenty more options other than shiplap if that's not up your alley. This stuff is incredibly workable, sticks well, and won't ruin your wall if you decide to remove it down the road. I love the idea of a feature wall, which is exactly what I did in our master bedroom and I'll take you through a quick run down of the process. Honestly guys, there's not much to the process!
Supplies:
Scissors
Exacto Knife
Soft Cloth
Level
Your Favorite Wallpops
One roll covers approximately 25 sq ft. I began with the first roll at the edge of the wall and held it up to the wall prior to removing the backing to get a feel for how straight it would be. The rolls are constructed so that you adhere them to the wall vertically, from ceiling to baseboard. I used the level to verify that the lines in the design were straight while the edge of the paper lined up with the adjacent wall, then I started at the top and peeled the paper back about 6 inches to give me just enough workable room to adhere it to the wall and adjust as needed. Yes, you can adjust it without ruining the wall or the paper!
Once I had it positioned where I wanted it, I slowly peeled the backing down with one hand and simultaneously used the soft cloth on the design side of the paper to adhere it to the wall. I used a sweeping motion from left to right and downward to get an even application and avoid air bubbles. You may need to adjust along the way, so do this slowly and re-align the paper as needed. I use the cloth rather than my bare hand as our hands can sweaty and dirty as we work and I didn't want that to transfer to the paper. Once you've applied the first sheet and it looks good, go back over that section with the cloth in a firmer sweeping motion to ensure it sticks well. TIP: I left a little extra paper at the ceiling and baseboards and used the exacto knife to cut along the seam after each section.
Take the next section, line it up with the lines on the first and repeat the same process.
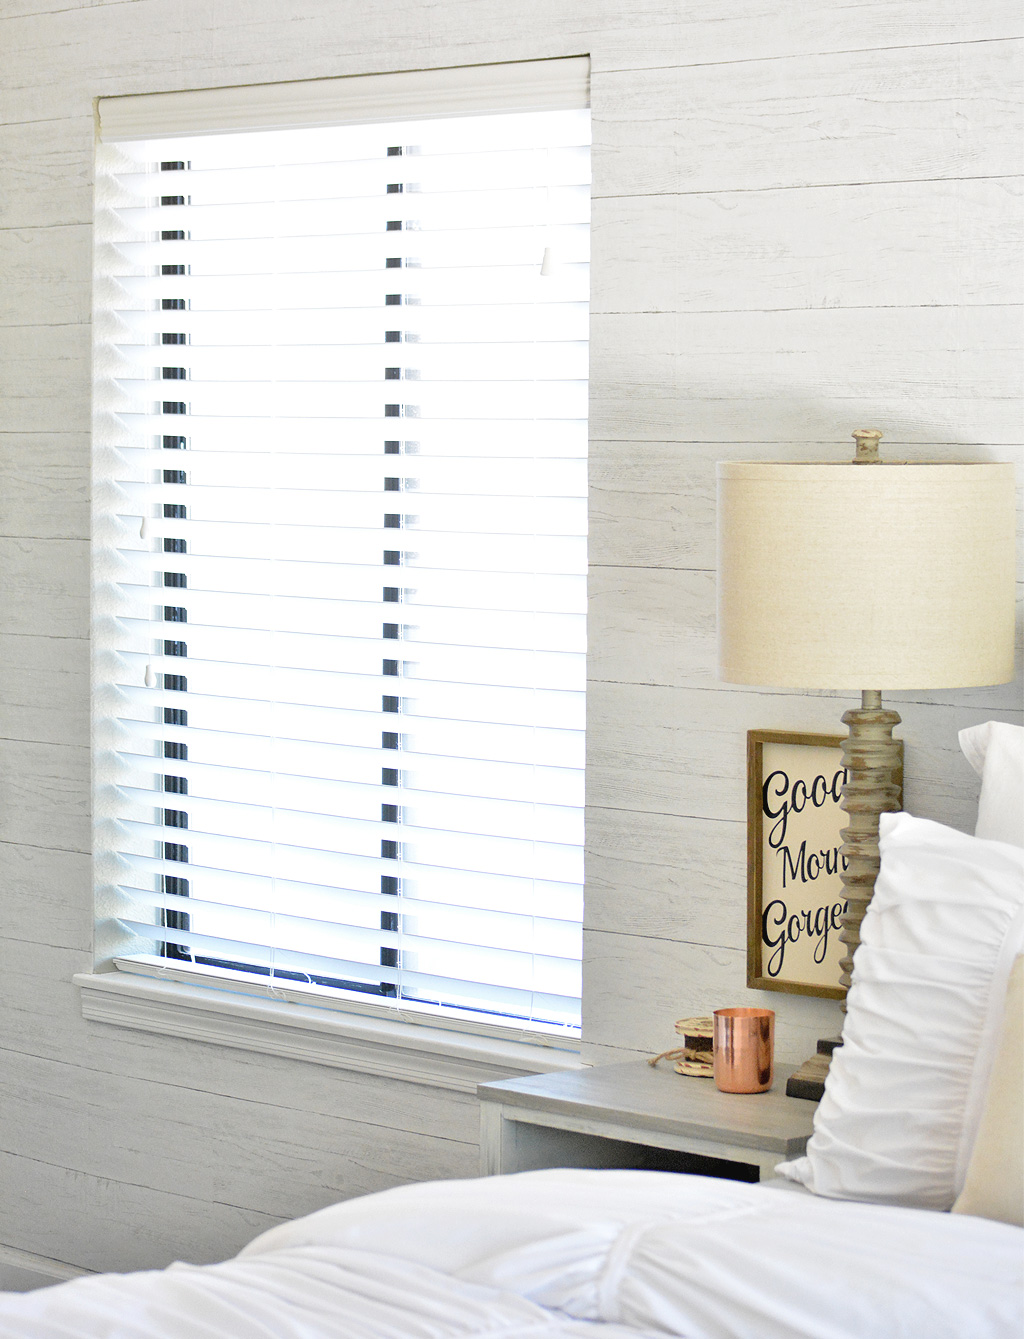
When you get to outlets and windows, you'll need to lightly adhere the paper over the space and make a cut out along the edges with the exacto knife and then reposition to make it smooth. Be careful around outlets!!
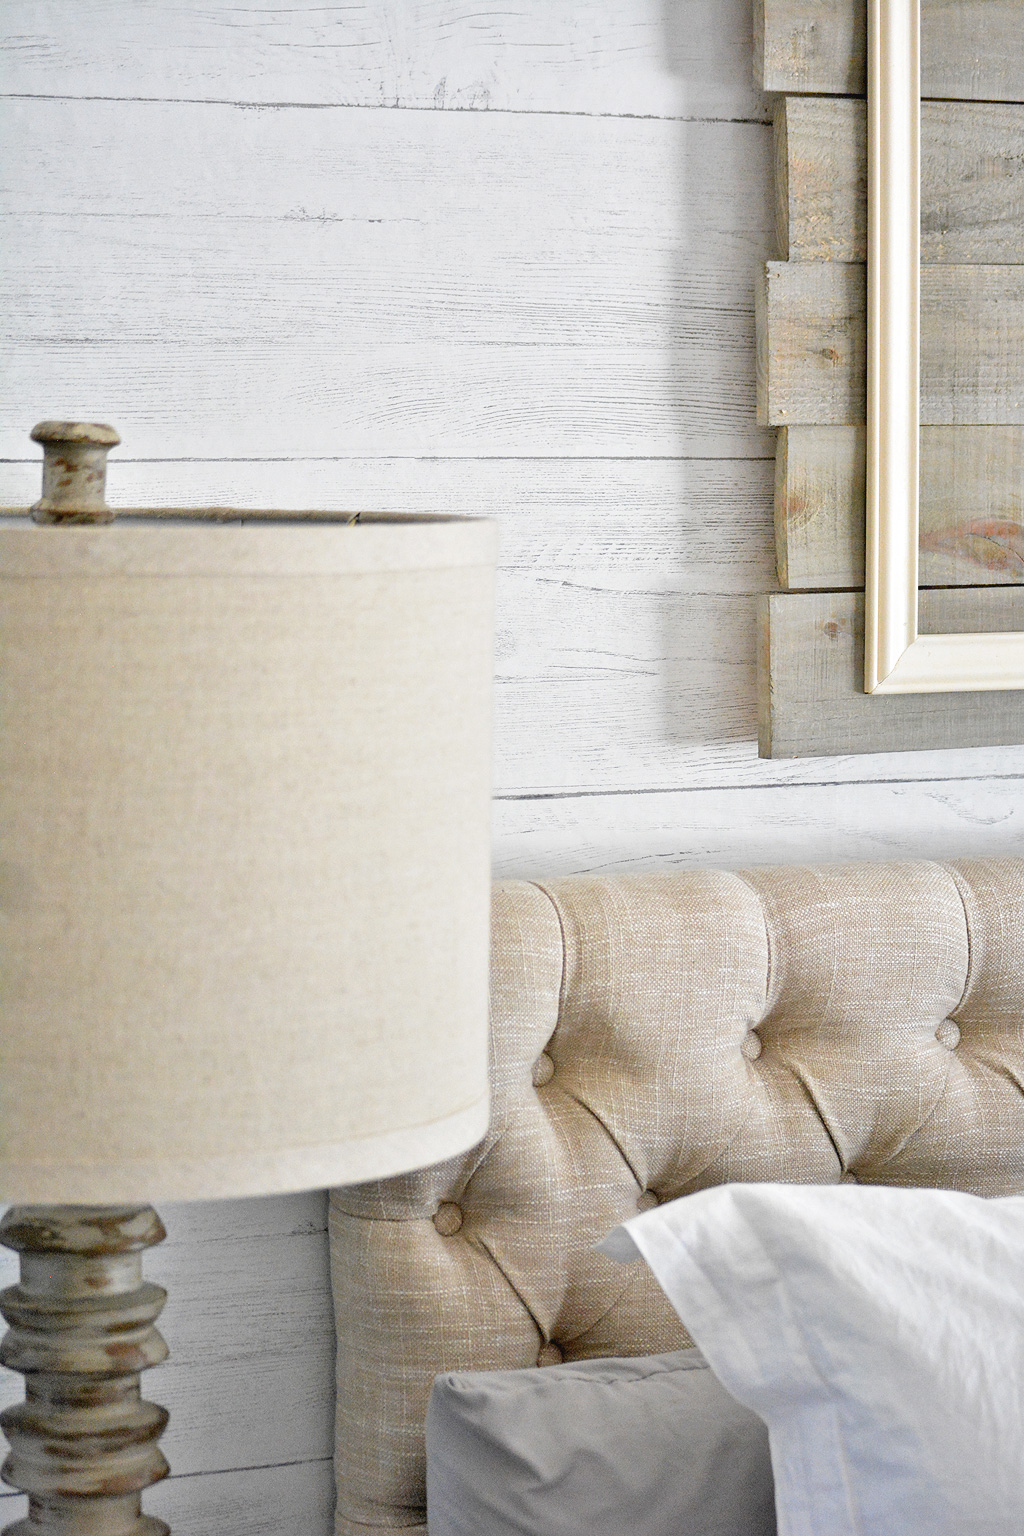
Here are a few close ups of the wallpaper...
{This post contains affiliate links and is sponsored by Wall Pops, but all opinions expressed are my own. Affiliate links are at no additional cost to you, and allow us to receive a small percentage of the sale to continue to keep you up to date on awesome new products on the market. Thank you for your help in supporting our small business!}
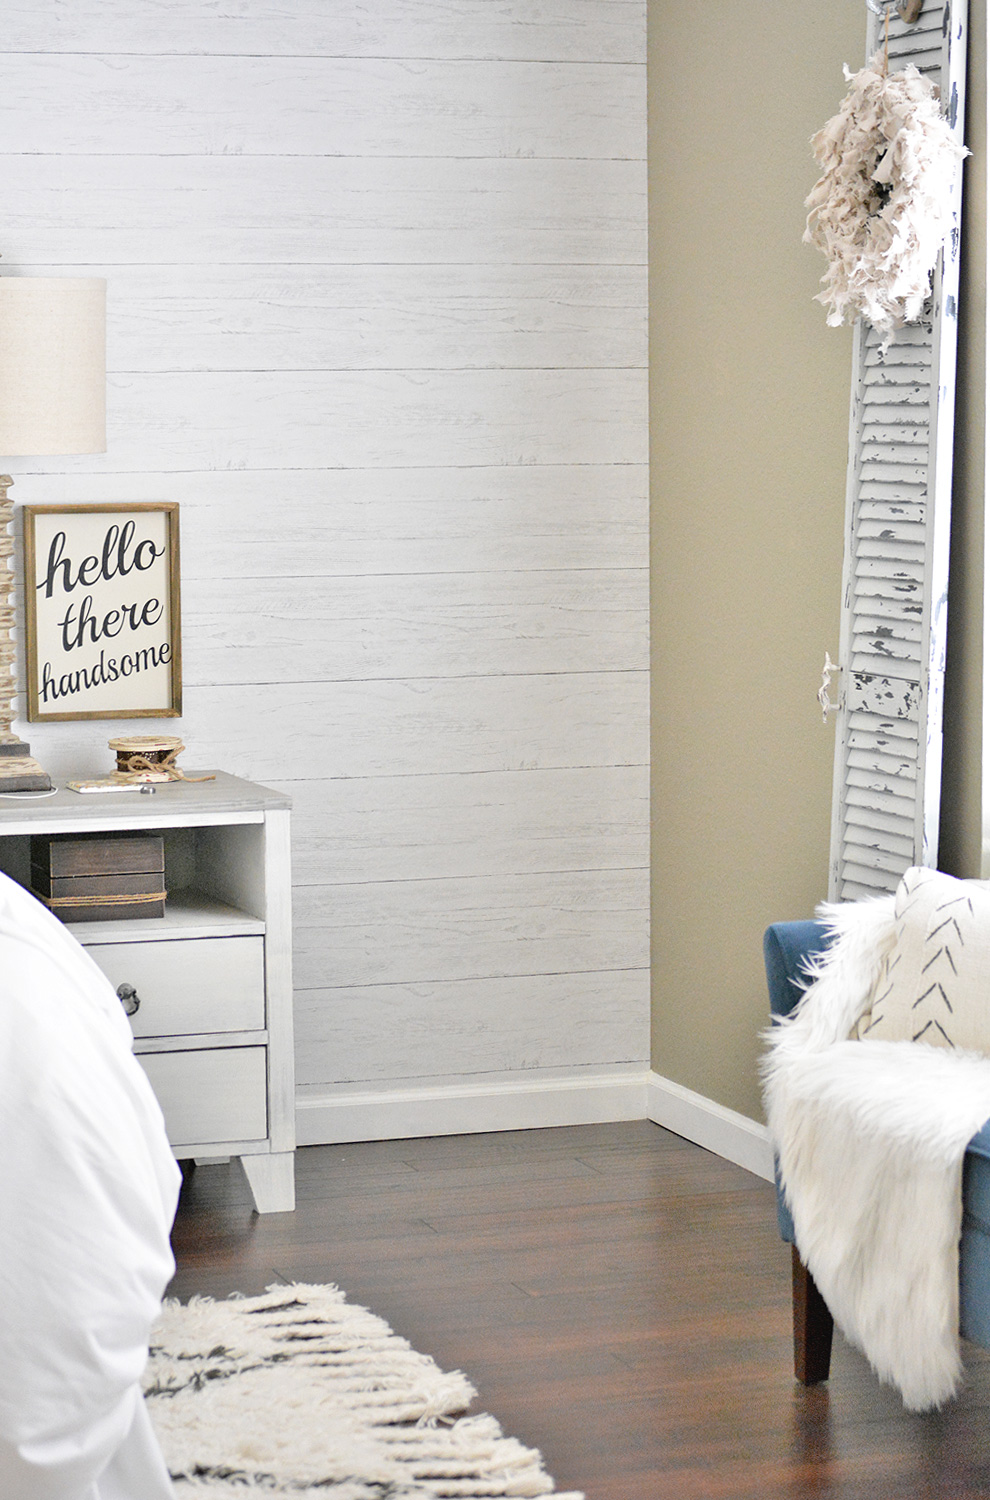
And here is the finished product!
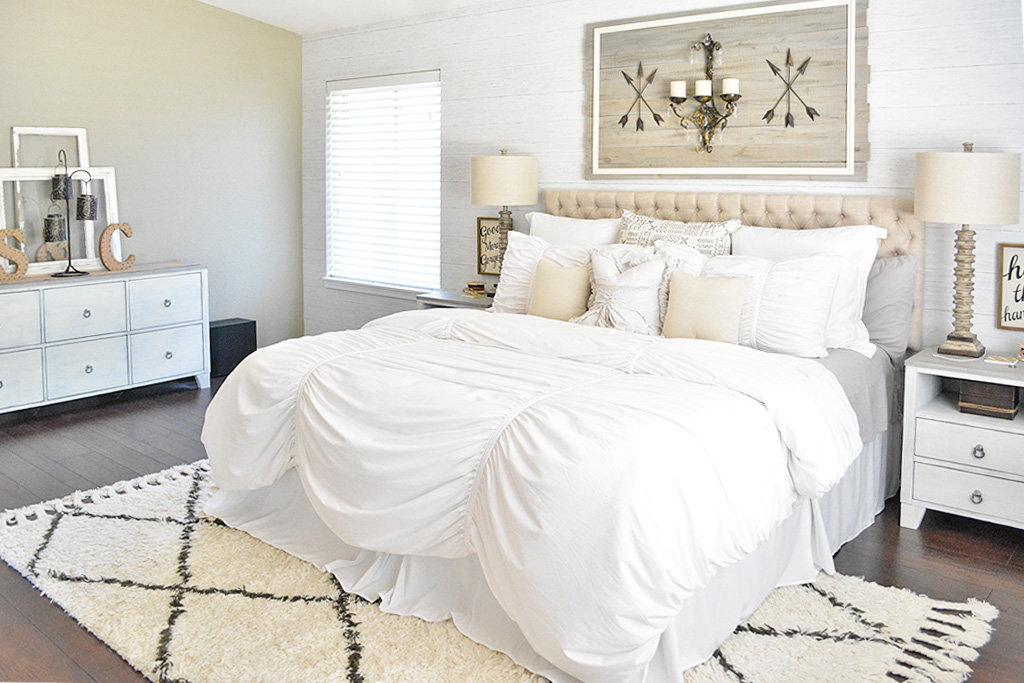
Happy DIY'ing!
XO,
Christina
Add new comment