This post is sponsored by ProCore Surfaces, but all opinions and statements are 100% my own.
I will never recommend products to my readers that I have not tried, tested and stand behind.
If you’ve been considering luxury vinyl plank flooring in your home, I highly recommend it for several reasons:
- Easy to install (you can do it yourself!)
- The ProCore Plus line has the pad attached already so there’s no need to put anything underneath
- Cost-effective
- Softer and quieter than laminate or tile
- Looks more like wood than laminate or tile
- Waterproof and durable (that means you can use it in kitchens and bathrooms!)
- Several color options to fit all styles!
We replaced 1400 square feet of laminate with the ProCore Plus Luxury Vinyl Planks in English Grove Oak, and you can see my tips on choosing the perfect flooring and color for your home here.

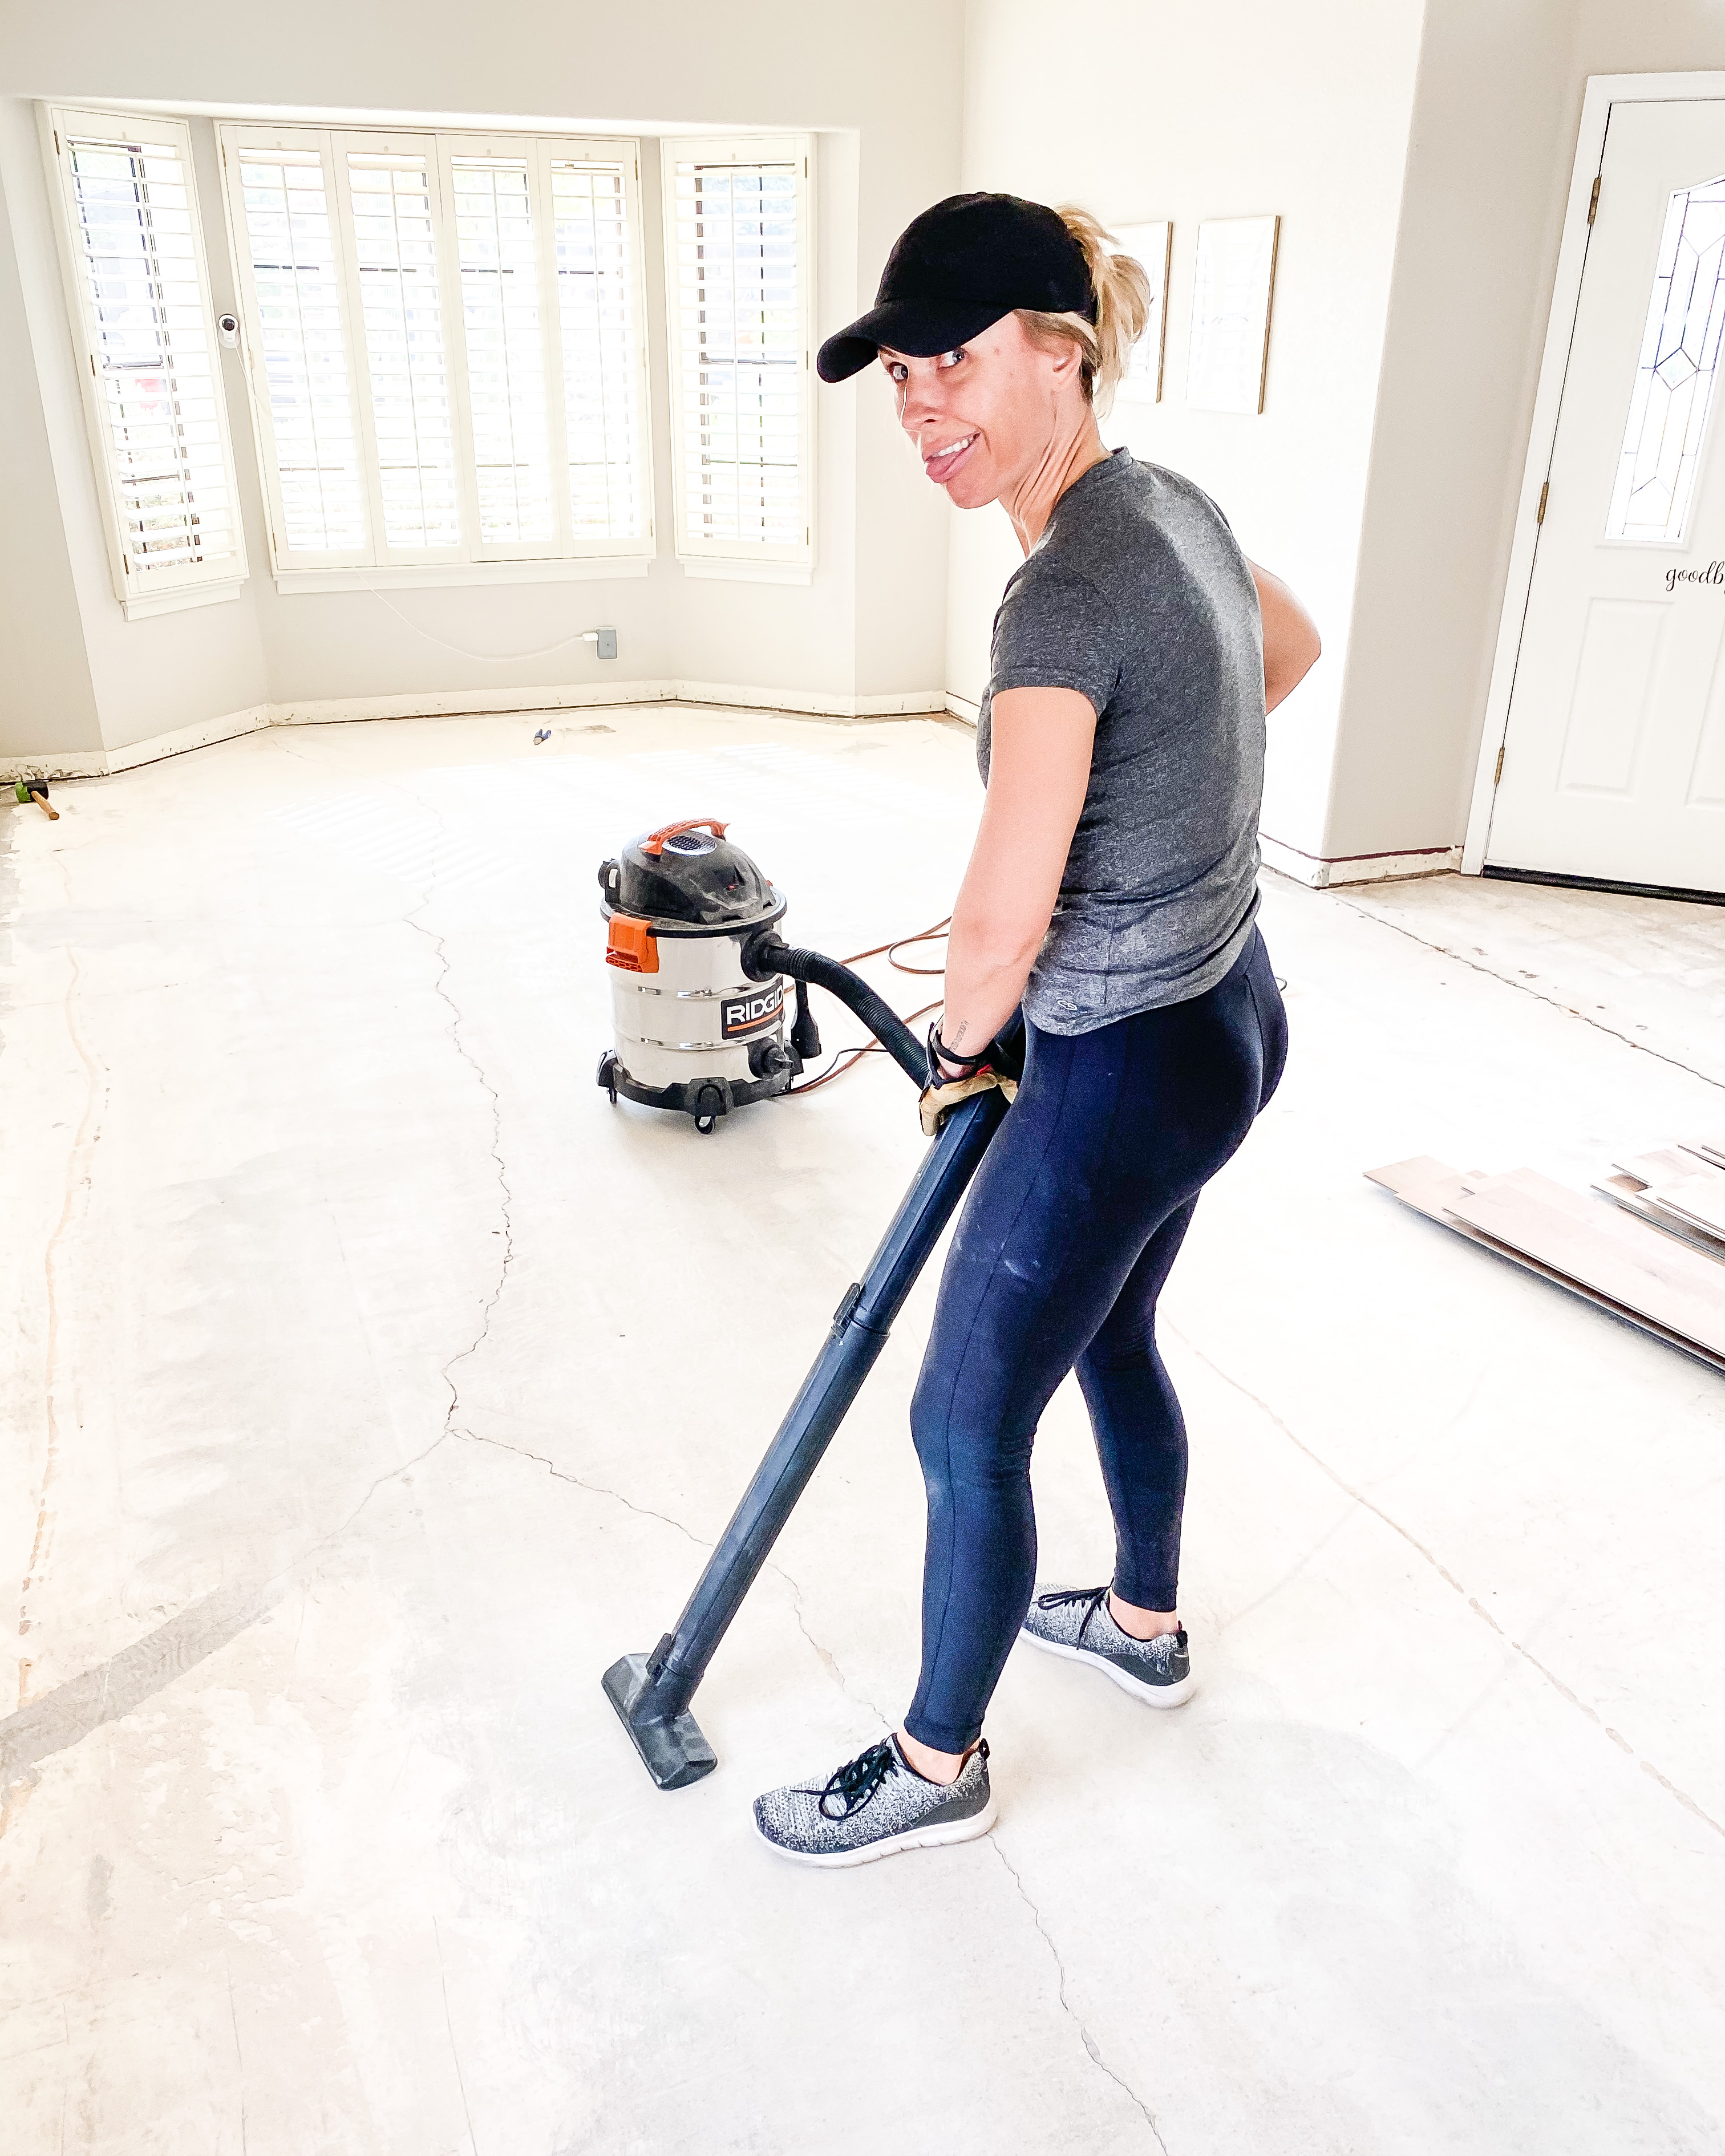
After demo is complete, it’s important to make sure your subfloor is even and free of debris. You can do this with a broom, but I prefer a shop vac to keep the dust down. Small imperfections are OK as the planks are more flexible than tile or laminate, but there were a couple of small areas that were significantly elevated so we had to chisel the concrete to even out the subfloor.
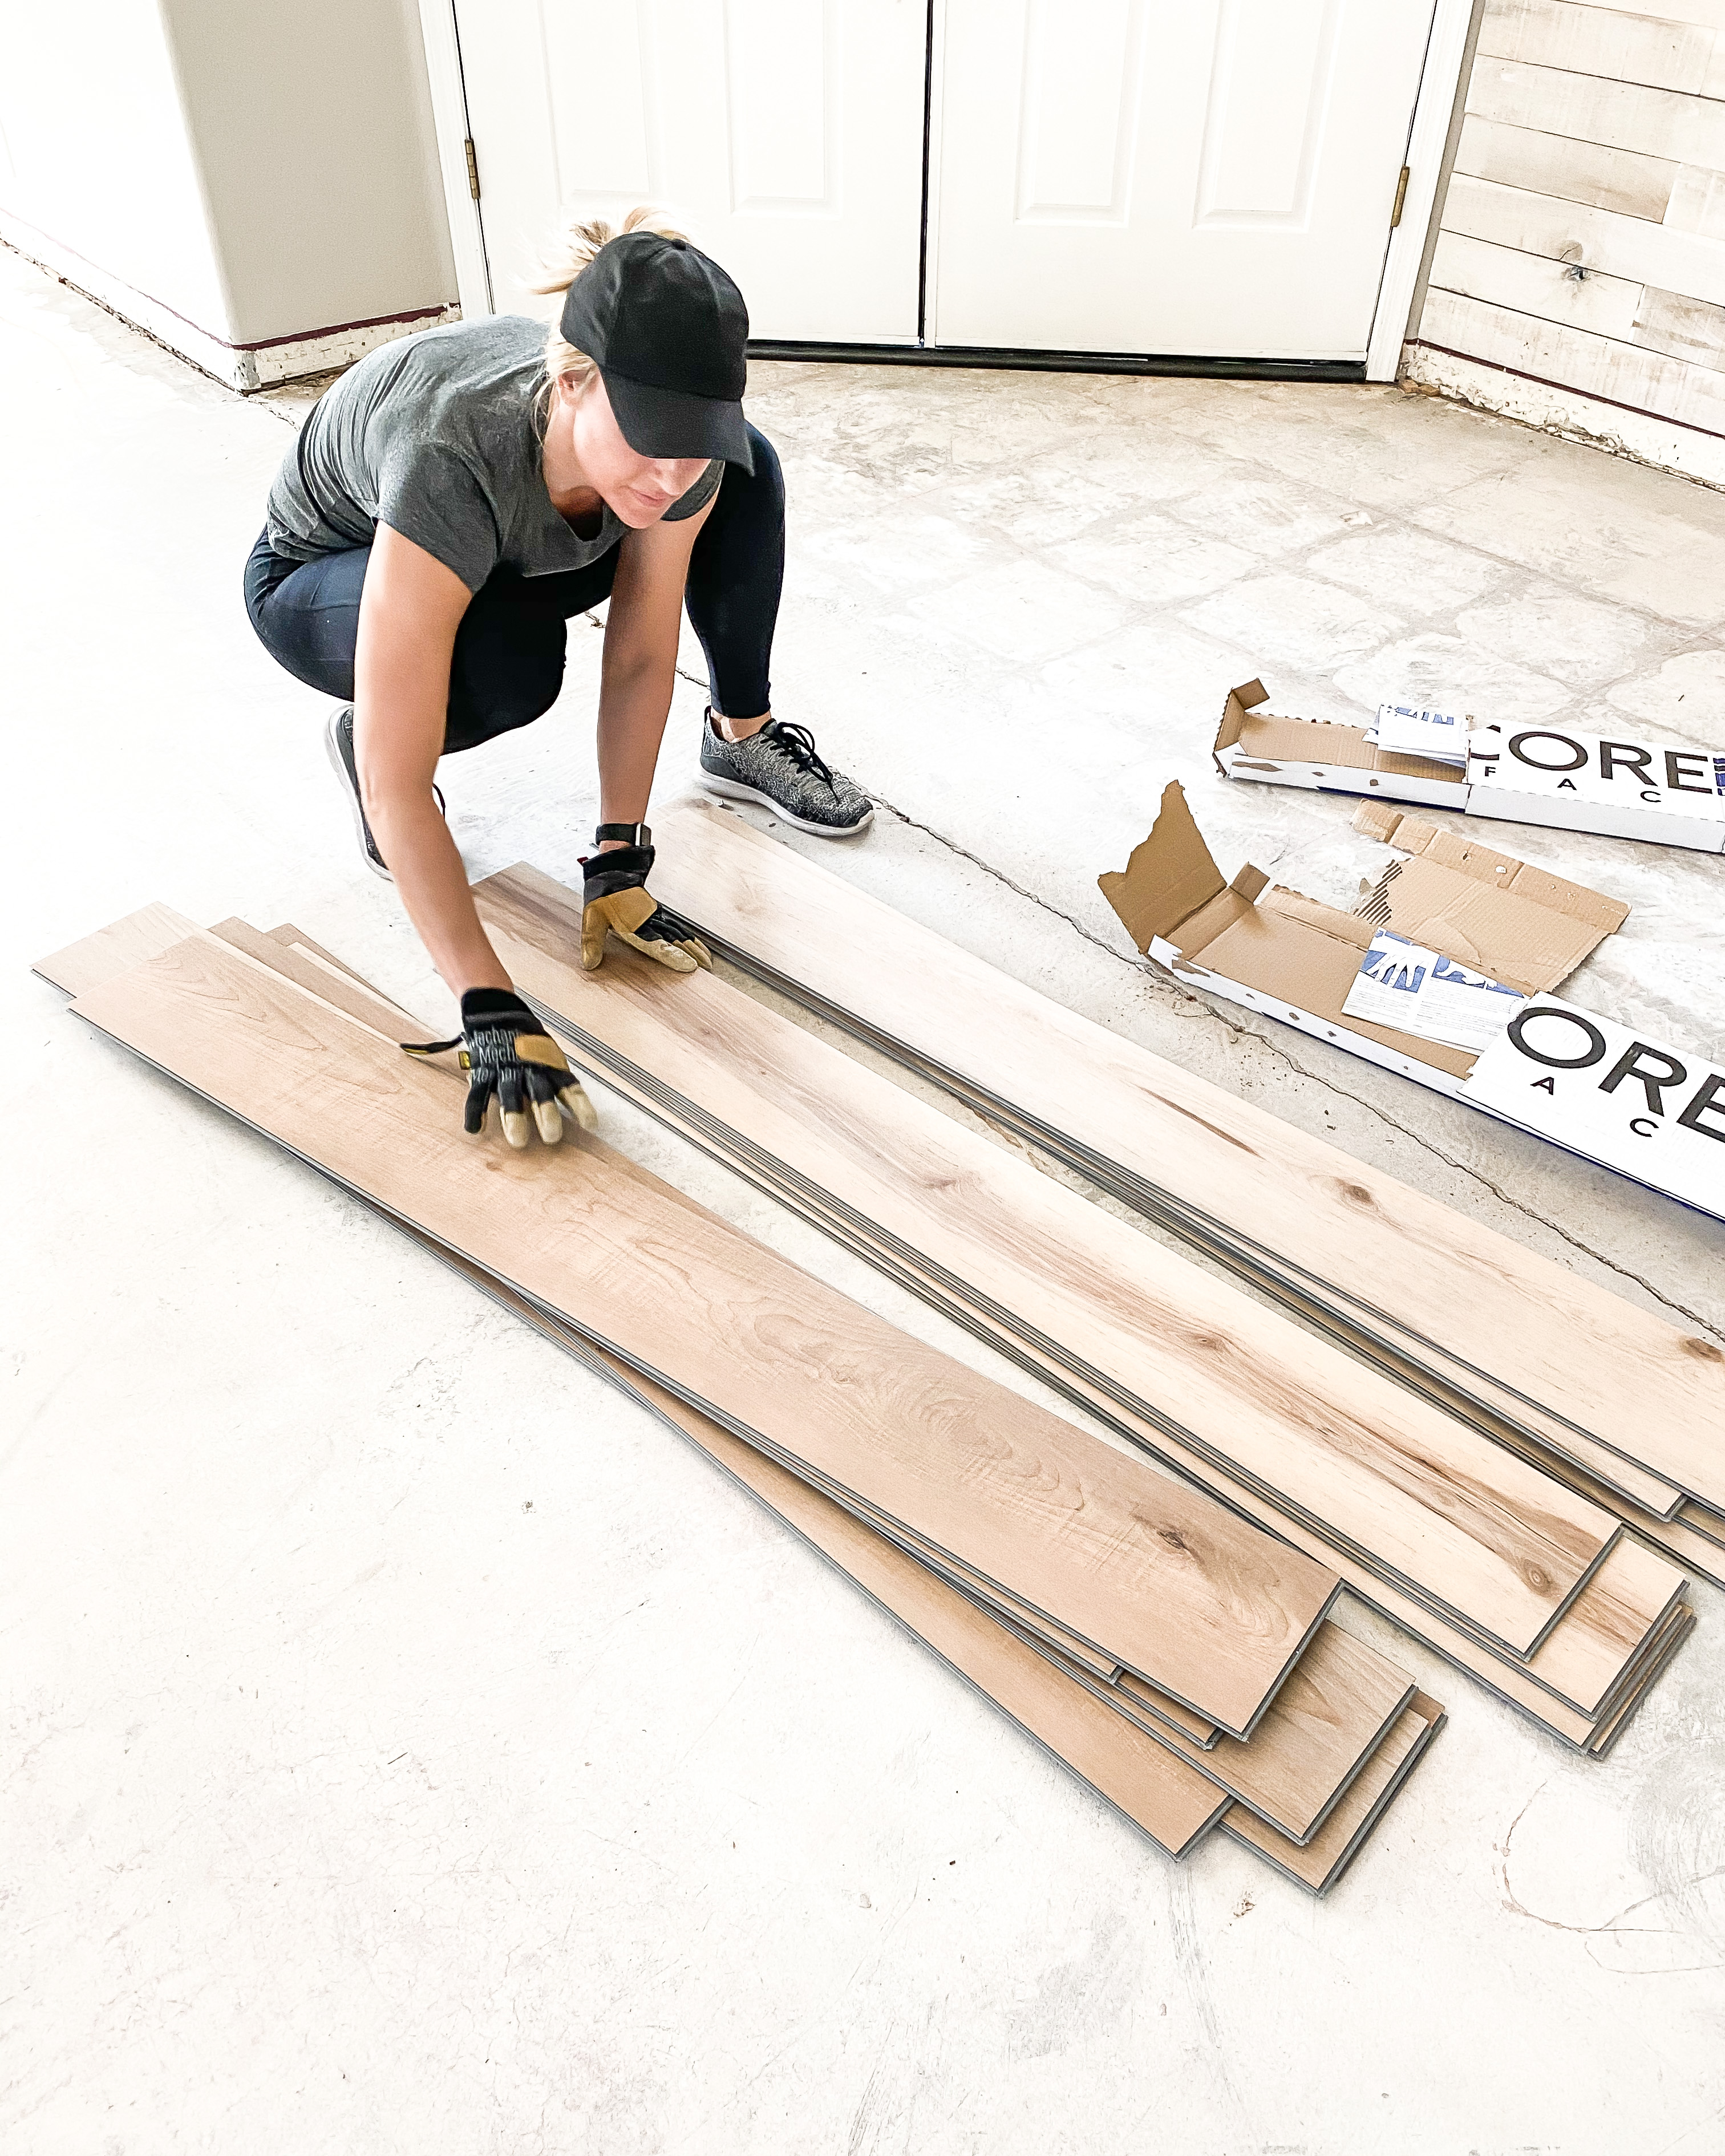
After your floors are prepped and ready for the planks, it’s a good idea to separate each box into three color categories – light, medium and dark. This will help your install be more efficient and the final outcome more balanced with mixed tones.
Supplies needed:
- Rubber mallet (we wrapped ours in frog tape so it didn’t leave a black mark on the flooring but you can purchase a white one if you prefer)
- Chalk line or laser (for keeping the floor straight since walls are not good guides)
- Gloves
- Knee Pads
- Tape measure
- Safety goggles (for cutting if you use a saw)
- Angle finder (to help with cutting odd angles/shapes)
- Chop saw (or utility knife if you don’t have a chop saw)
- Construction adhesive (if installing on stairs)
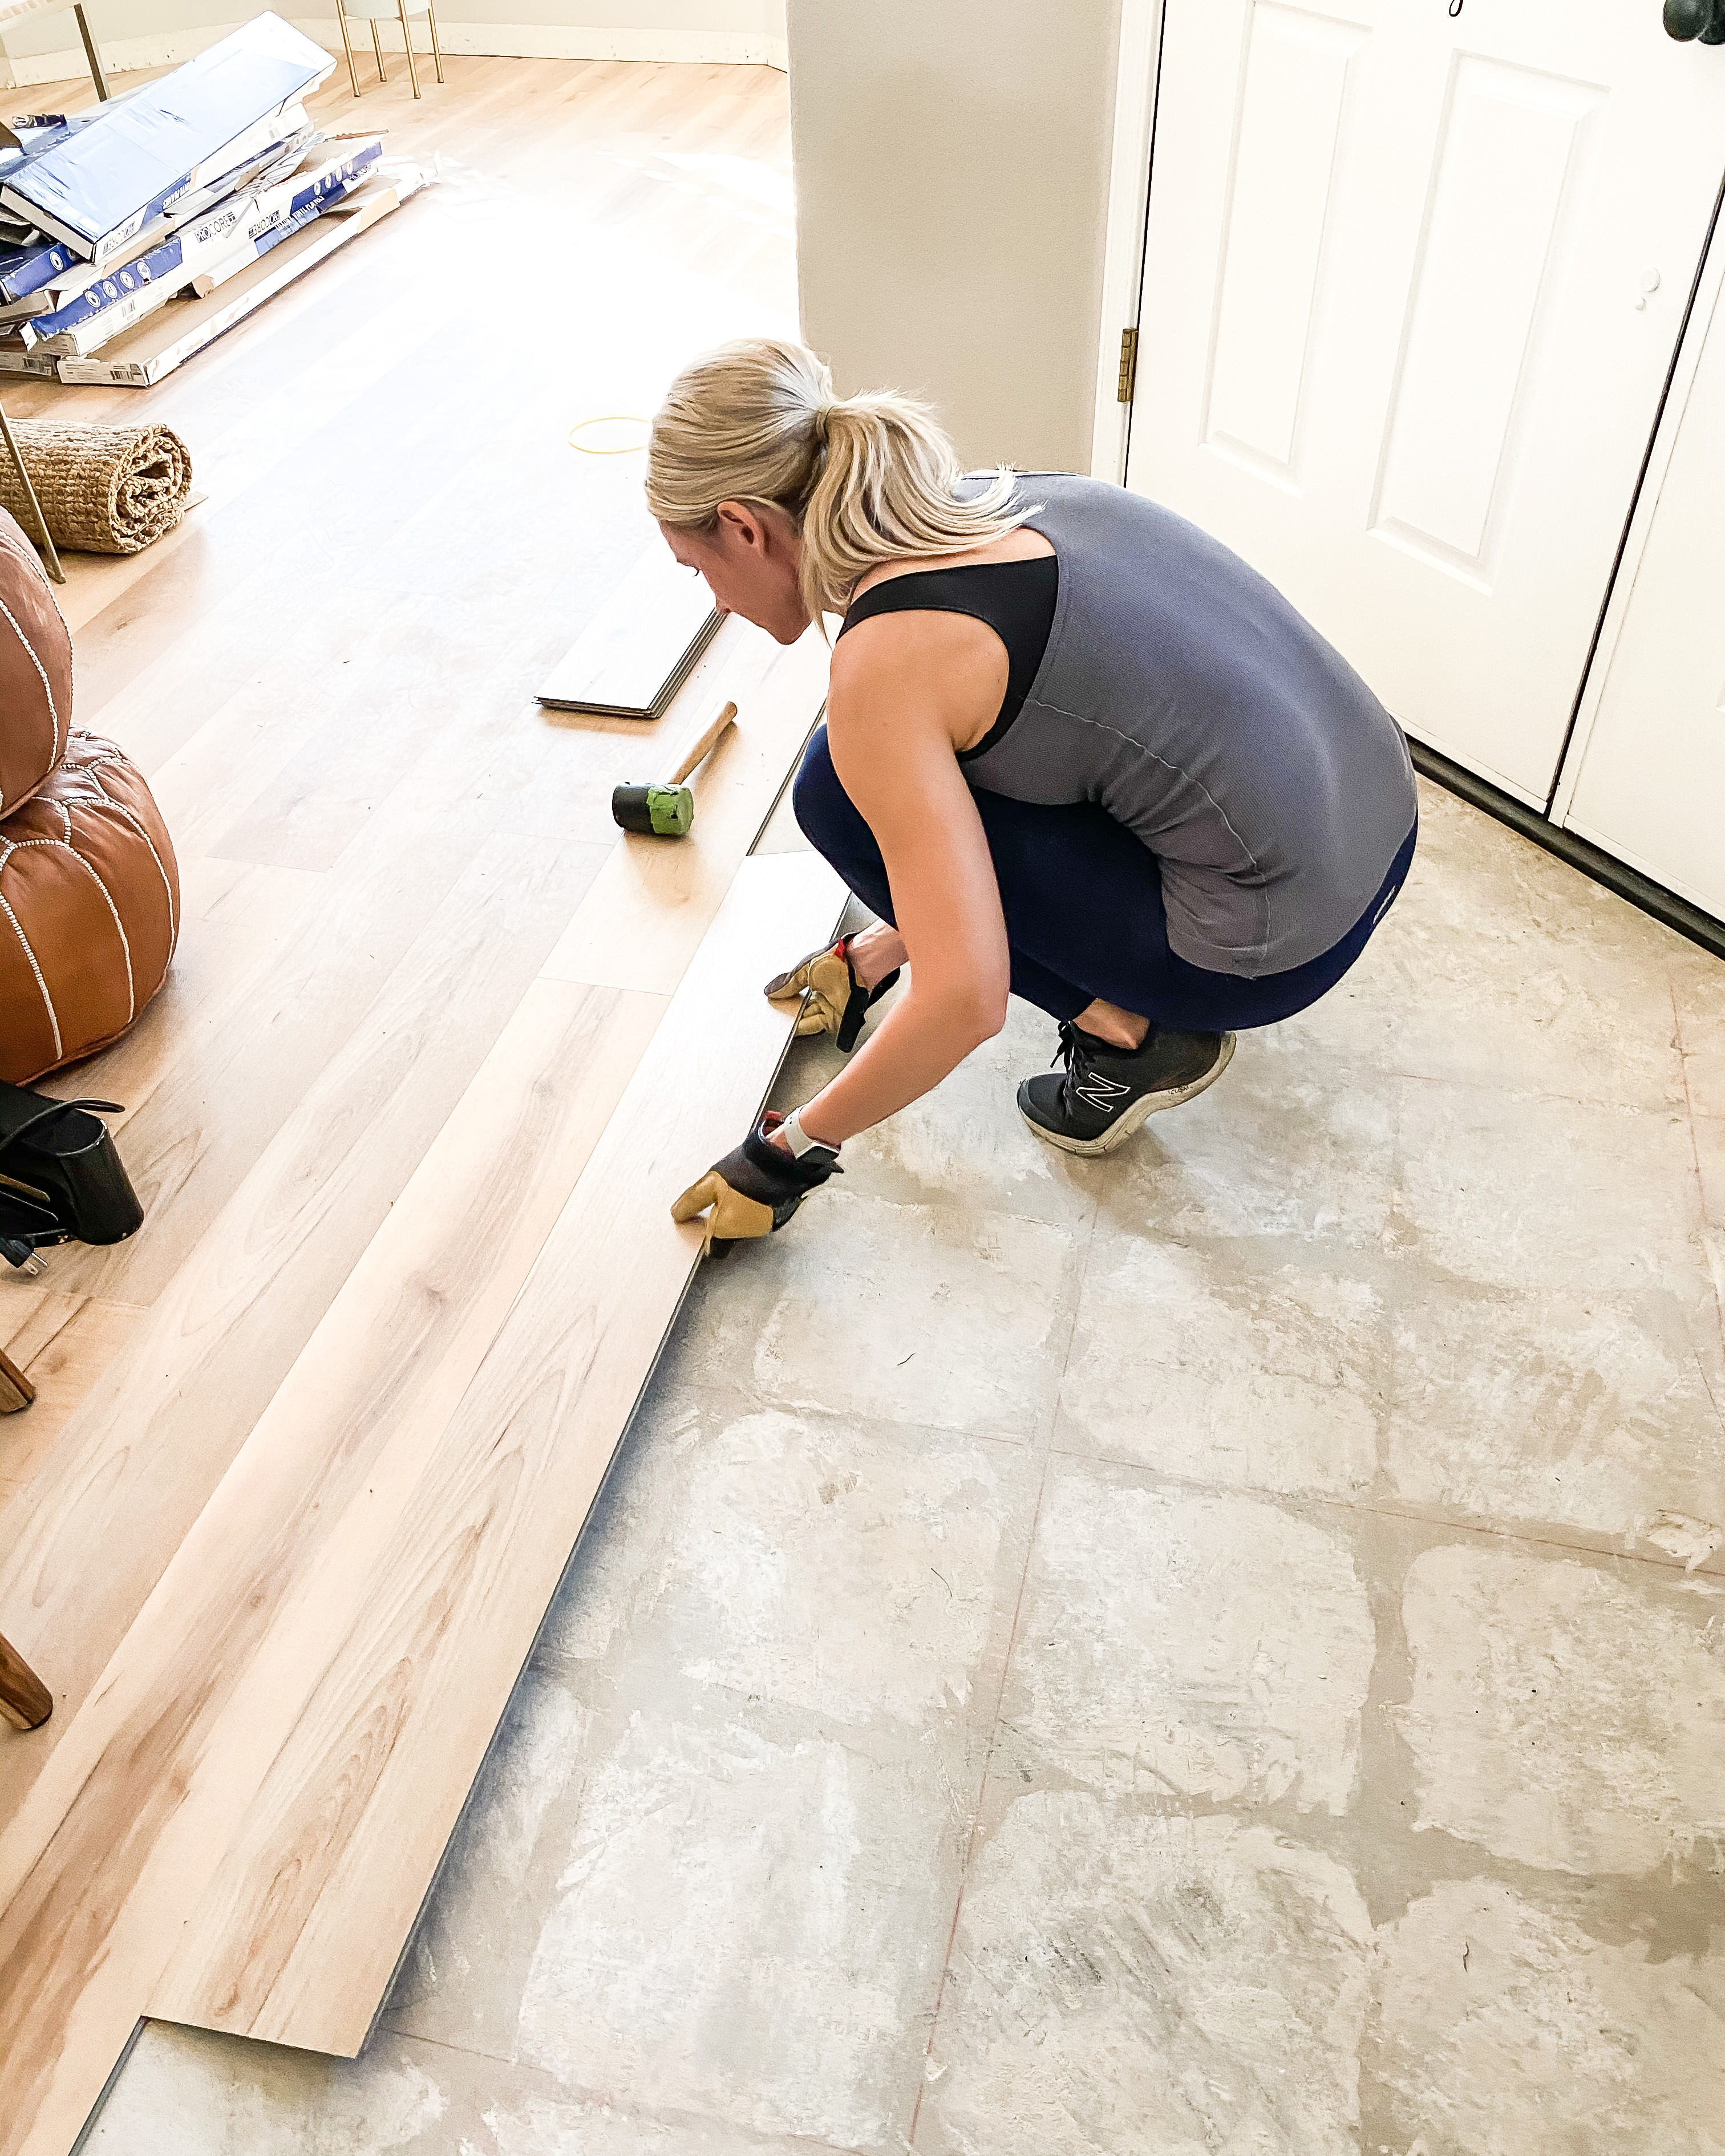
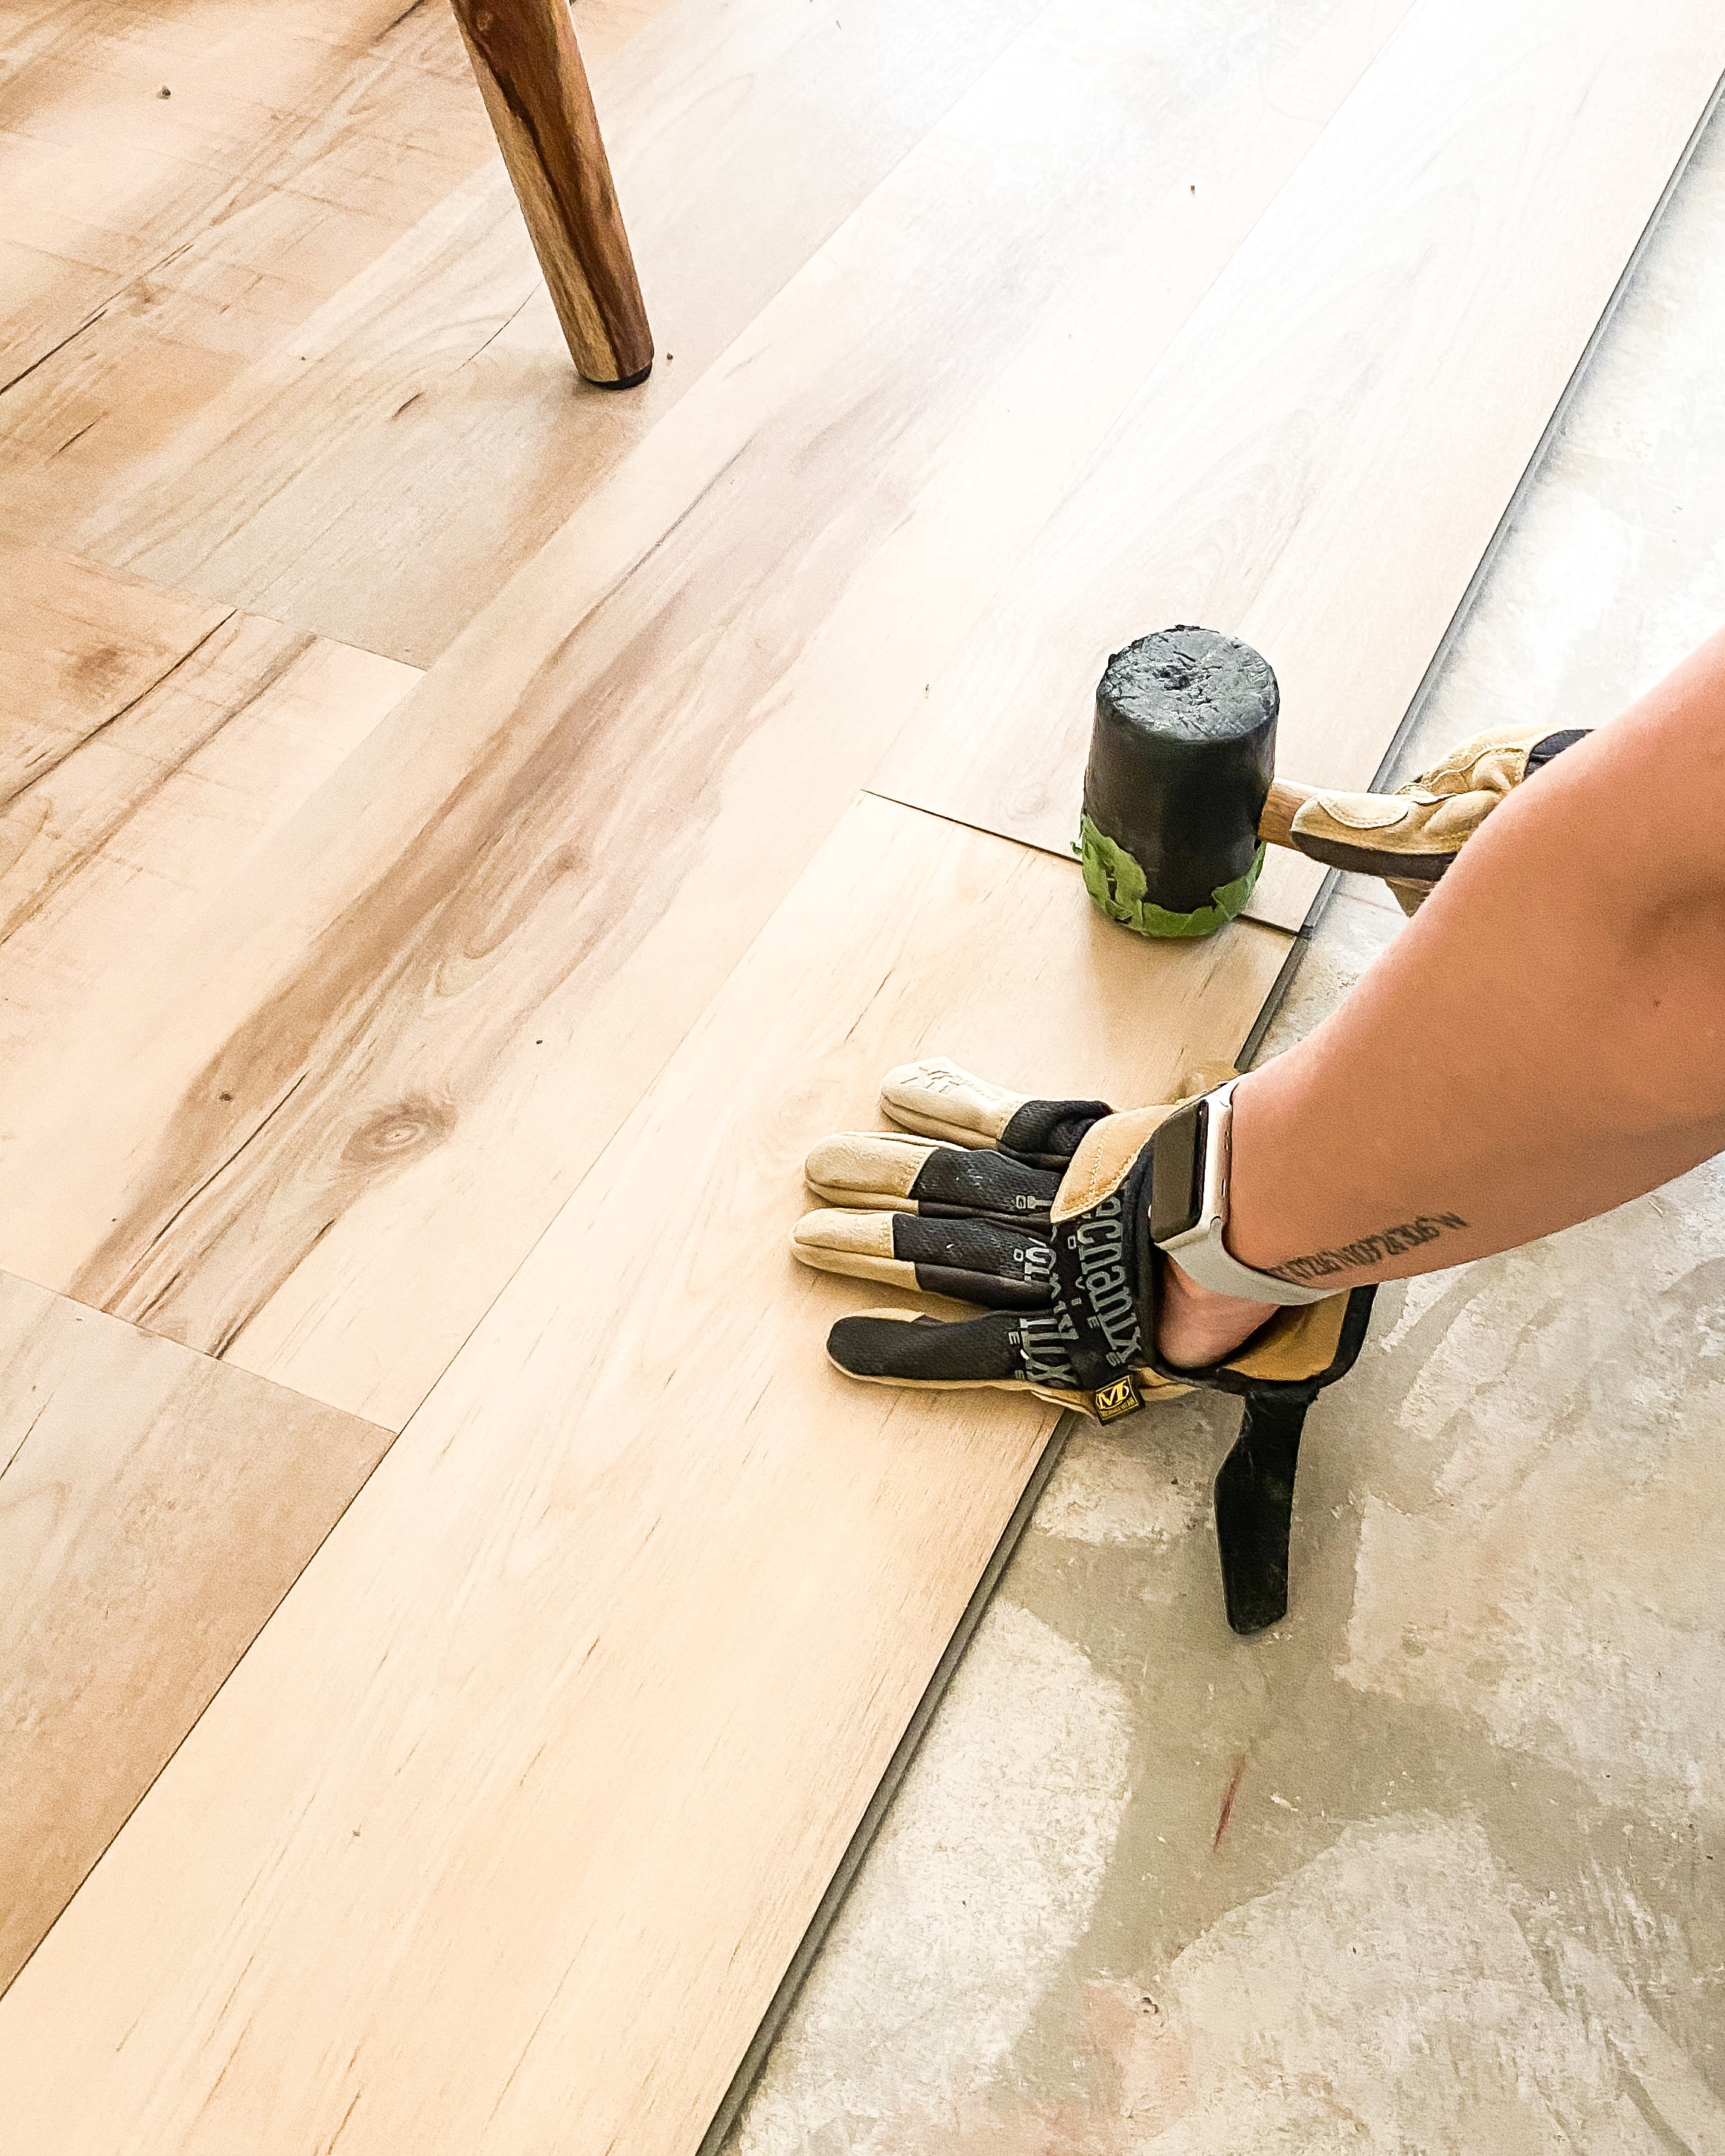
Since the pad is attached on the ProCore Plus planks, you simply line up the end, click the piece in lengthwise and use your rubber mallet to lock them into place. ProCore has a very helpful installation walk-through video on their YouTube channel here as well.
For rooms without a lot of angles and cuts to do, you can easily knock out a standard size room install in a day! Since we had so much to replace, our entire project took 2 weeks from demo to install. It was well worth it!
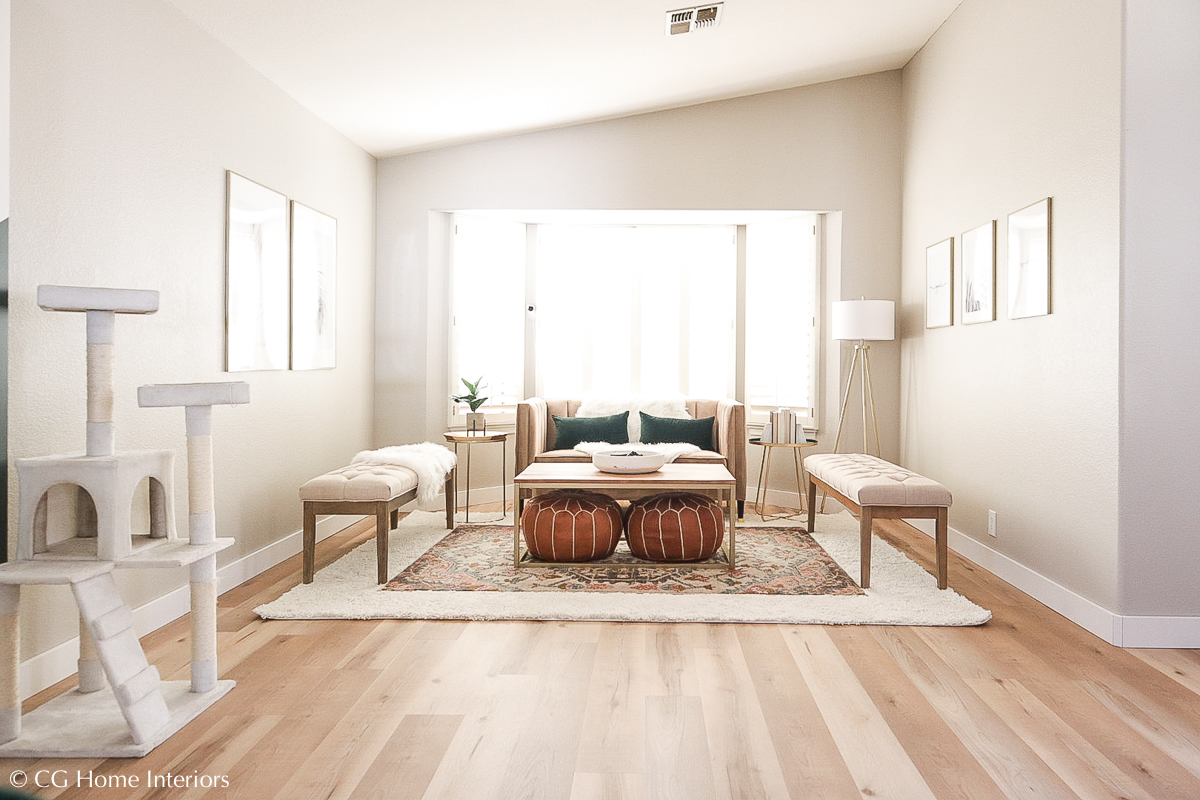
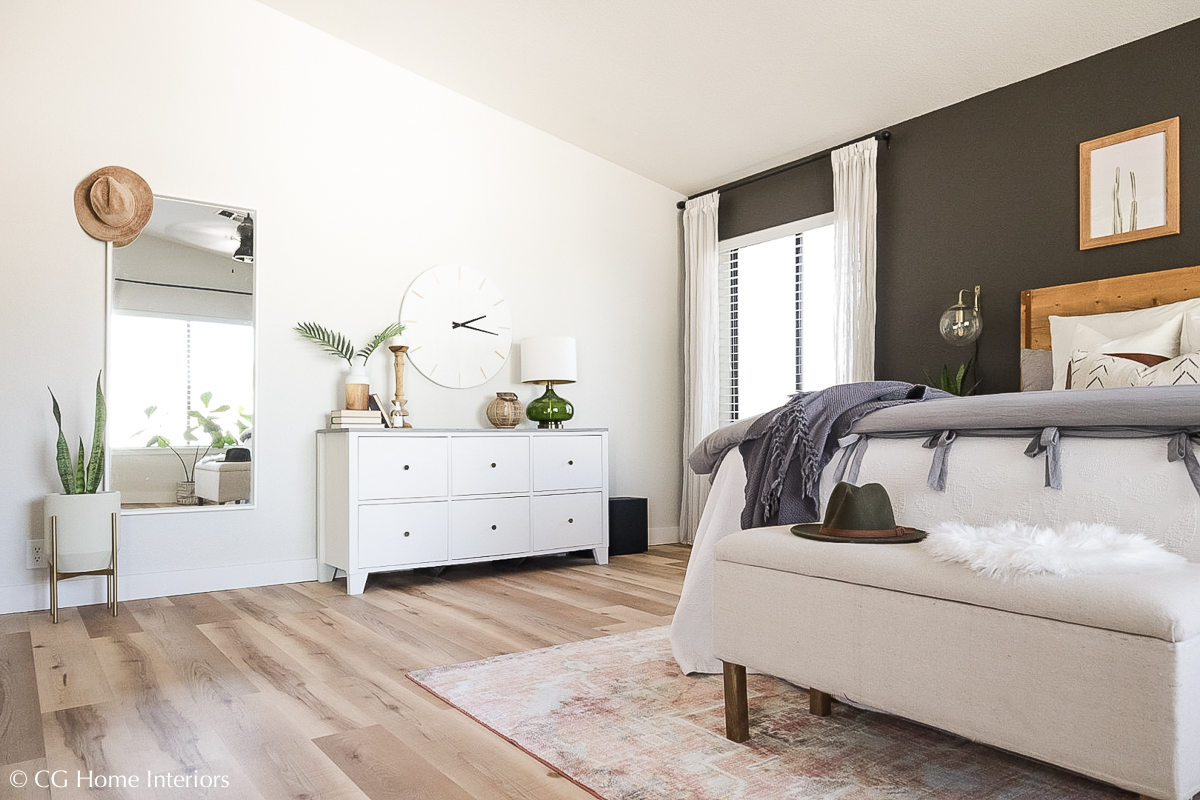
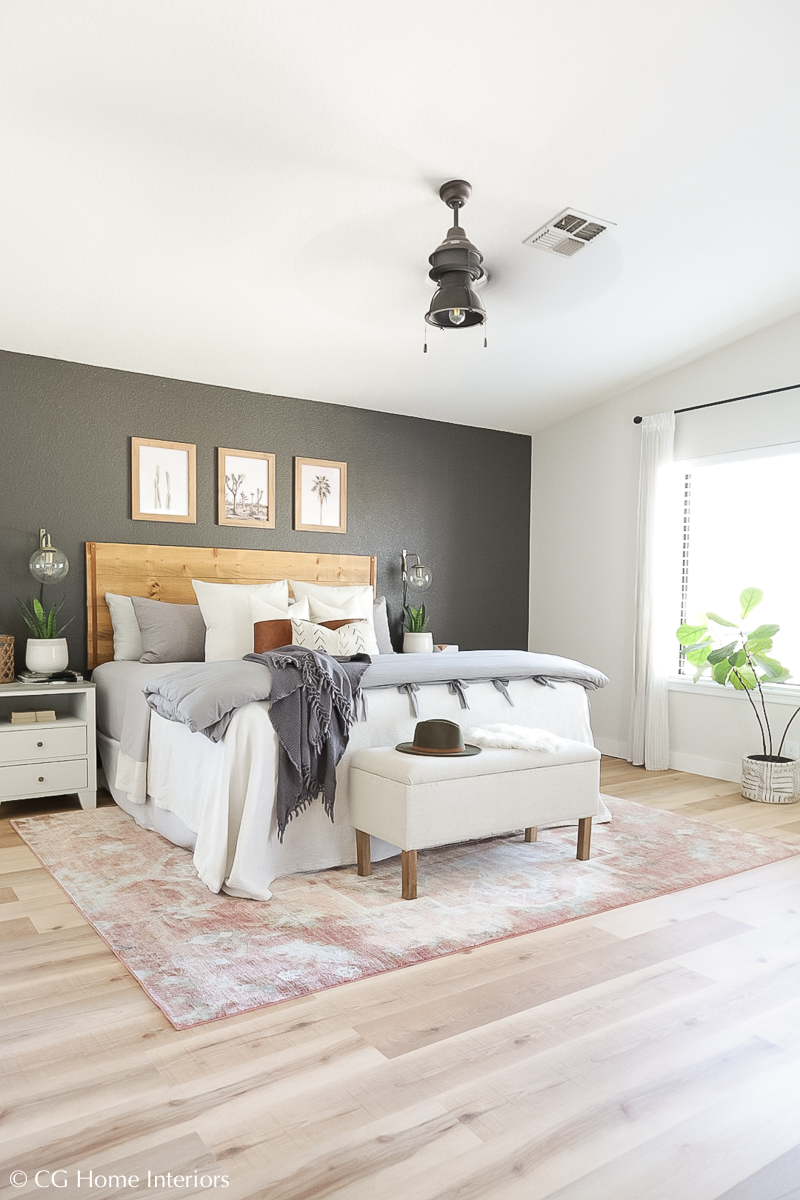
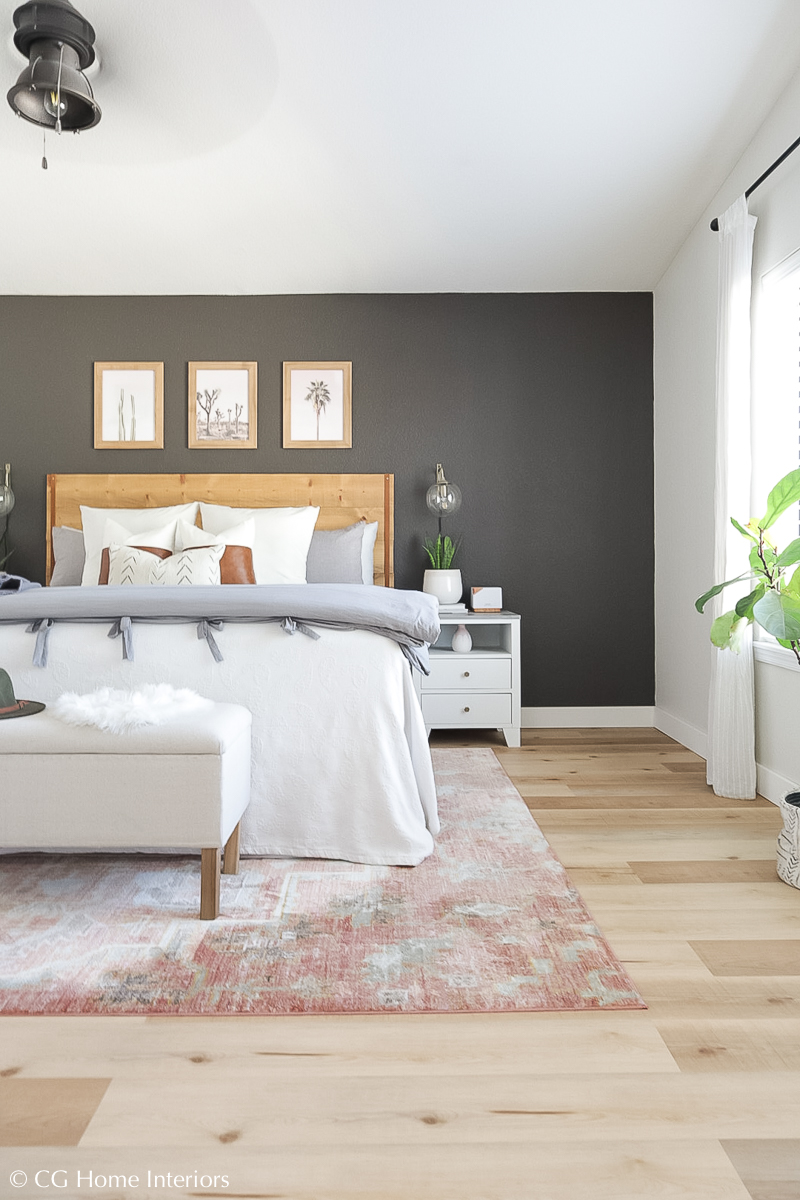
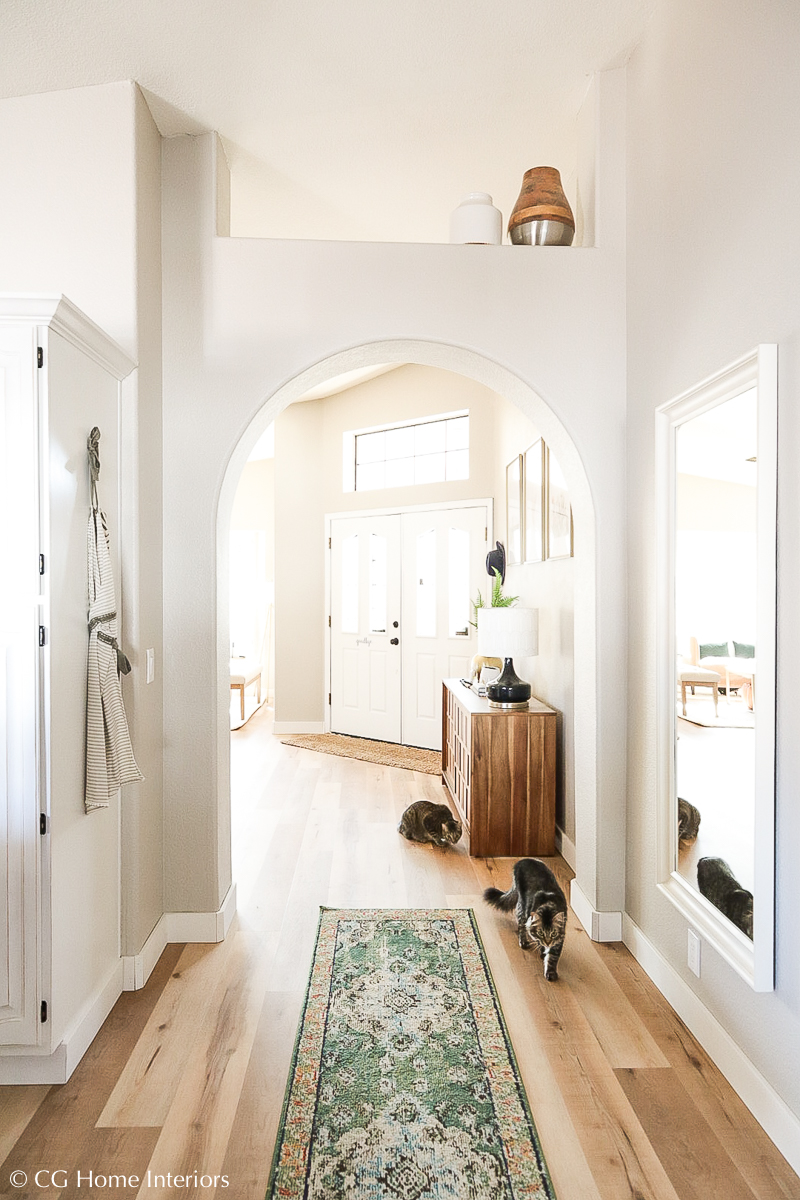
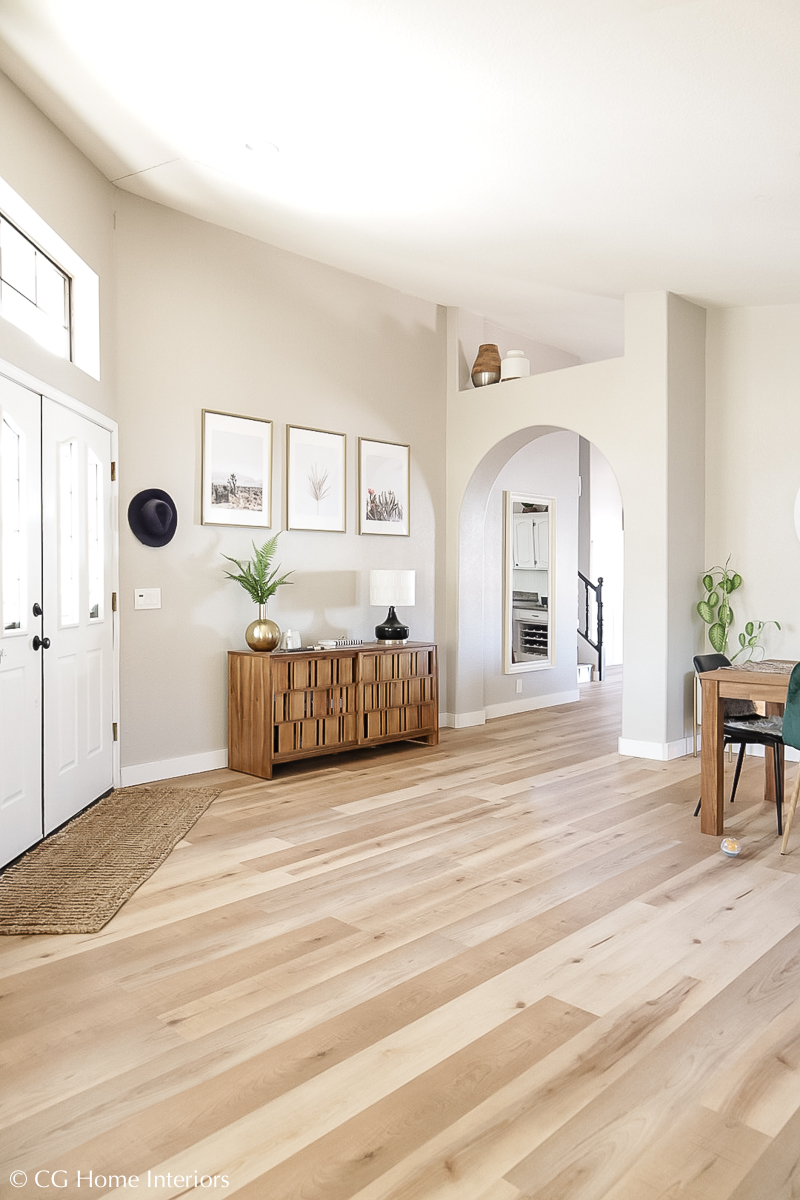
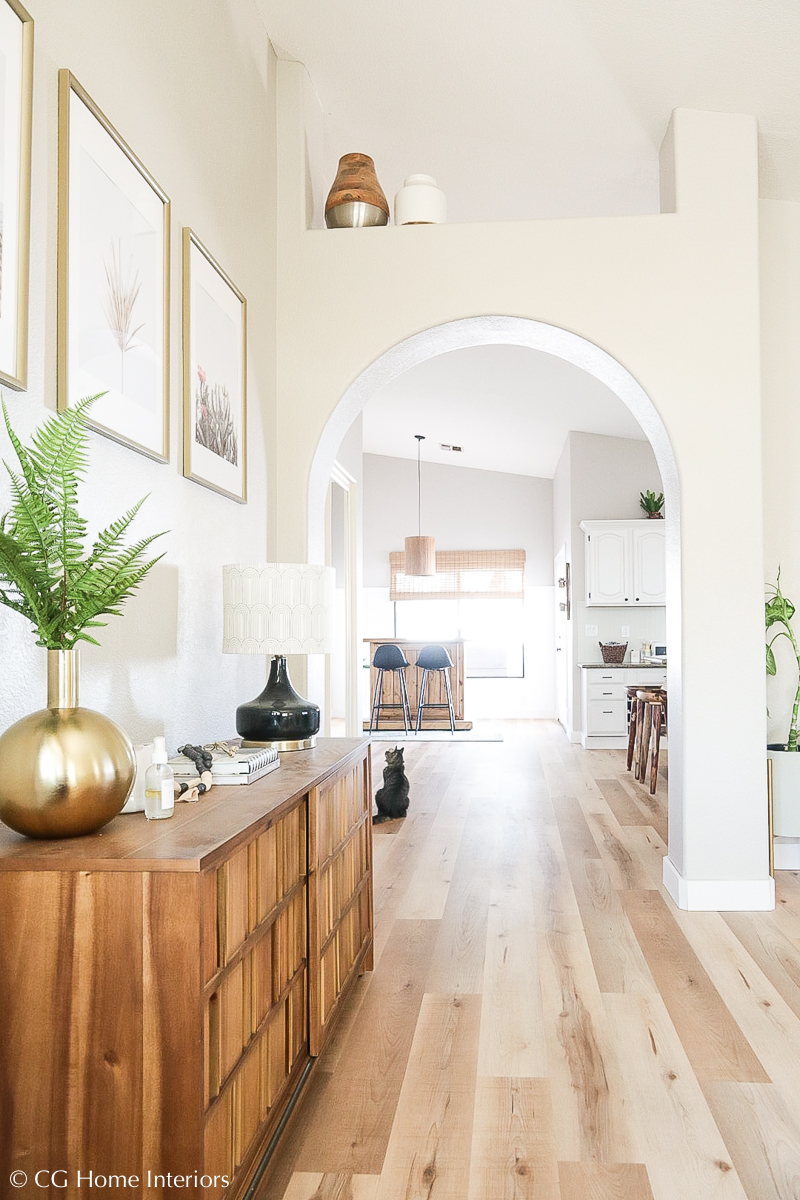
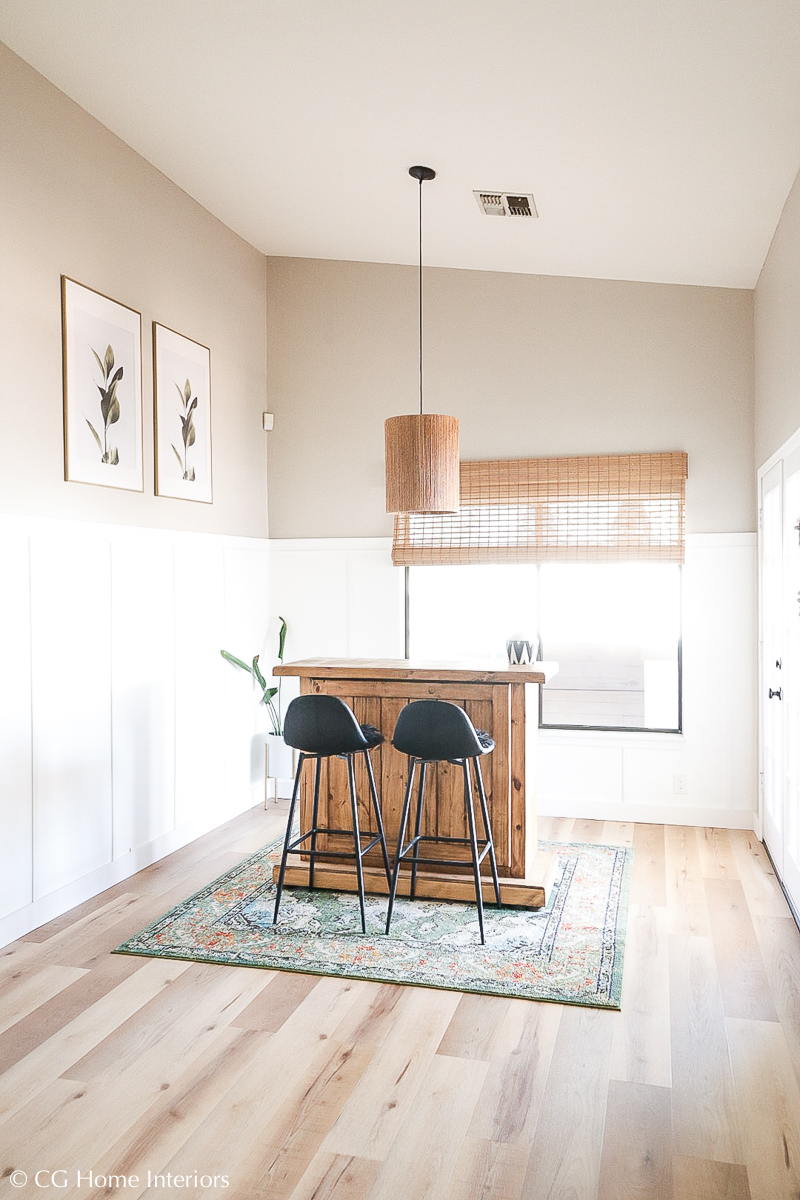
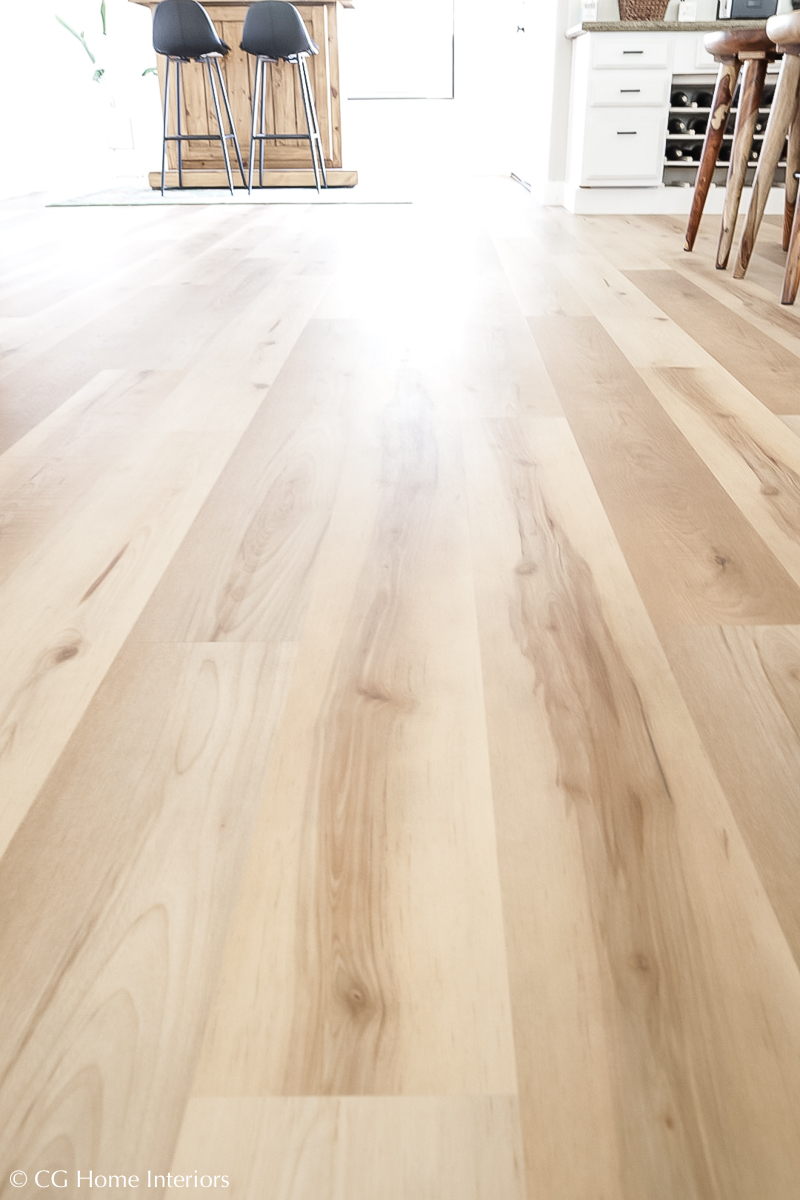
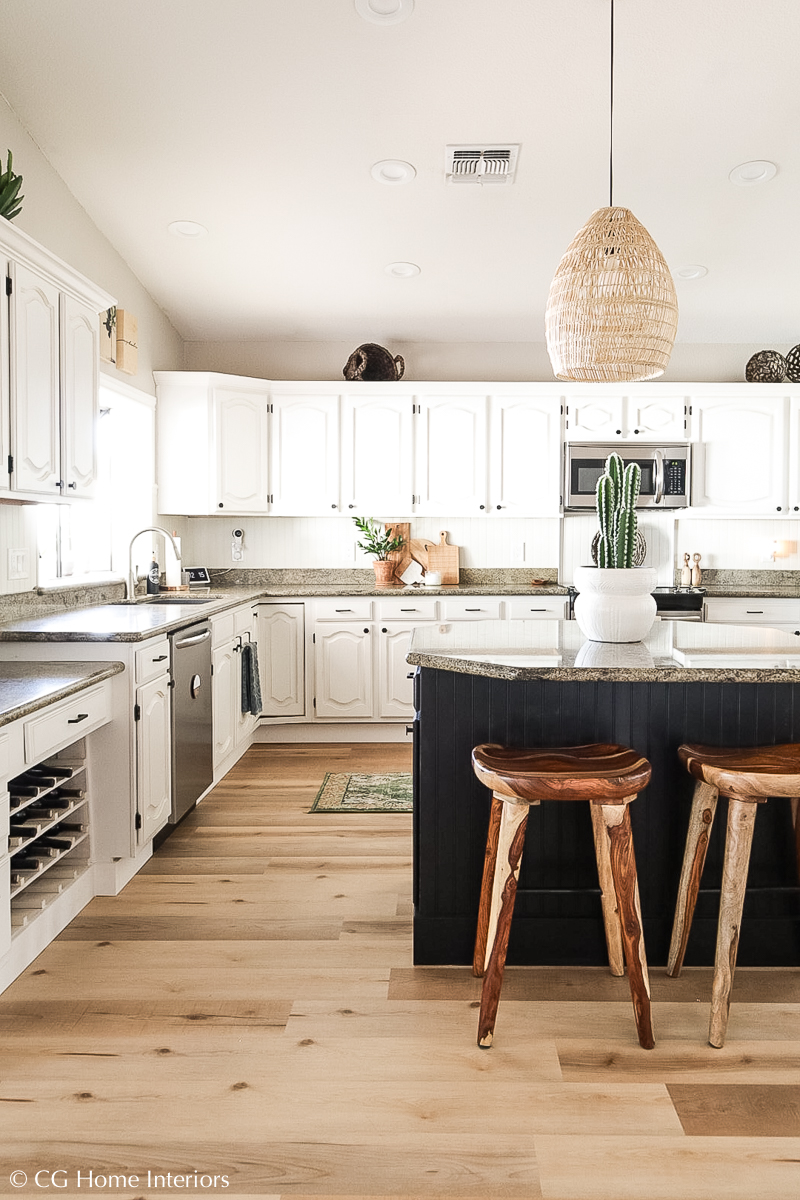
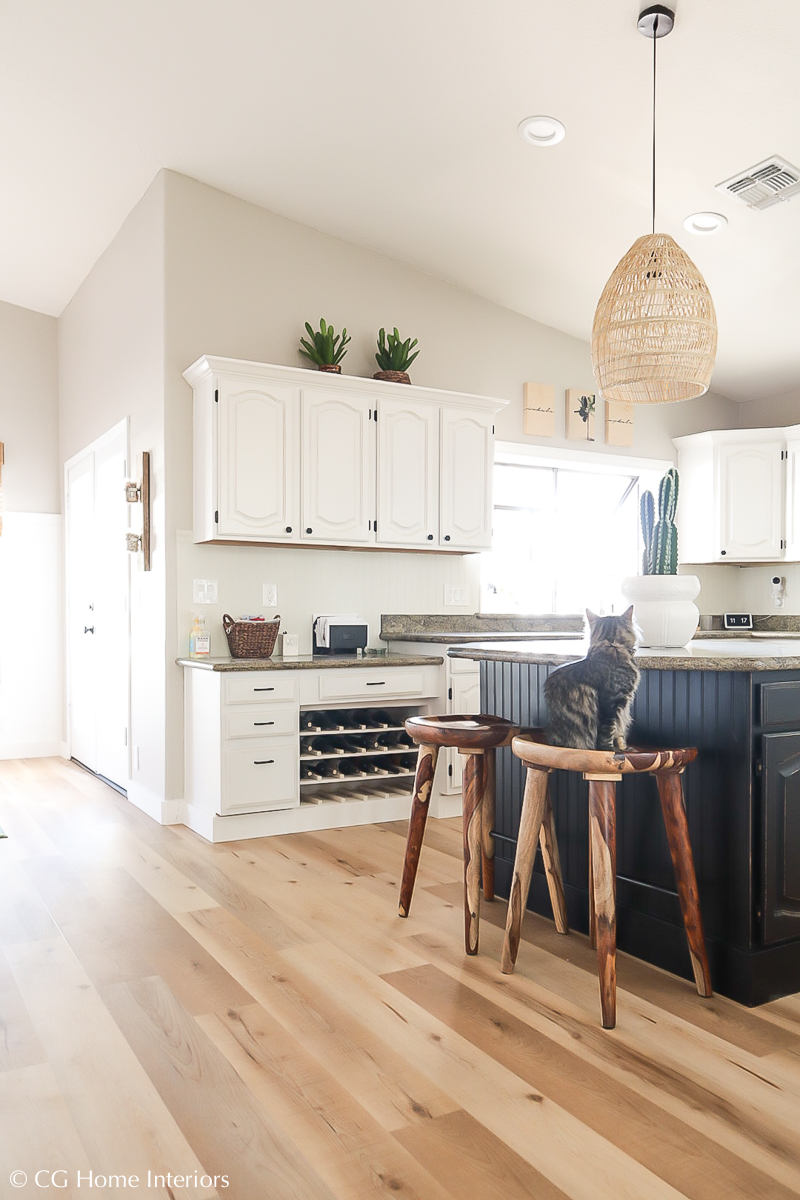
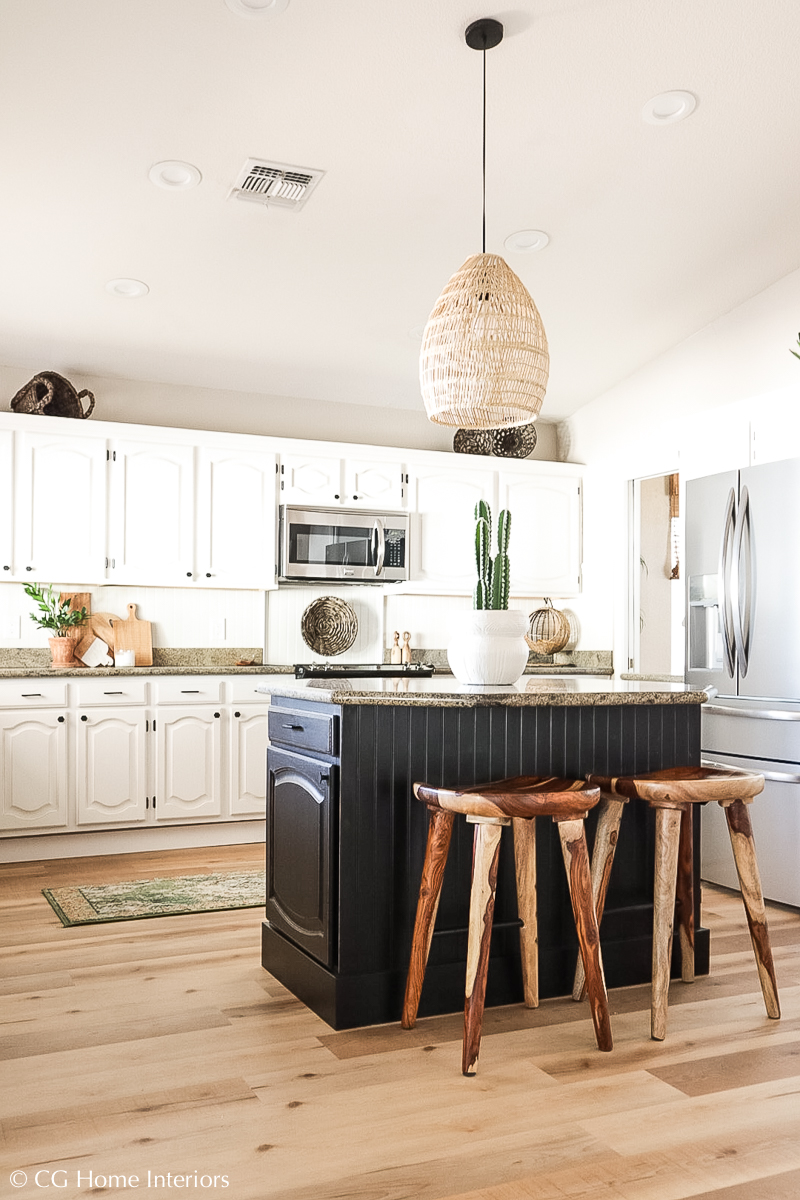
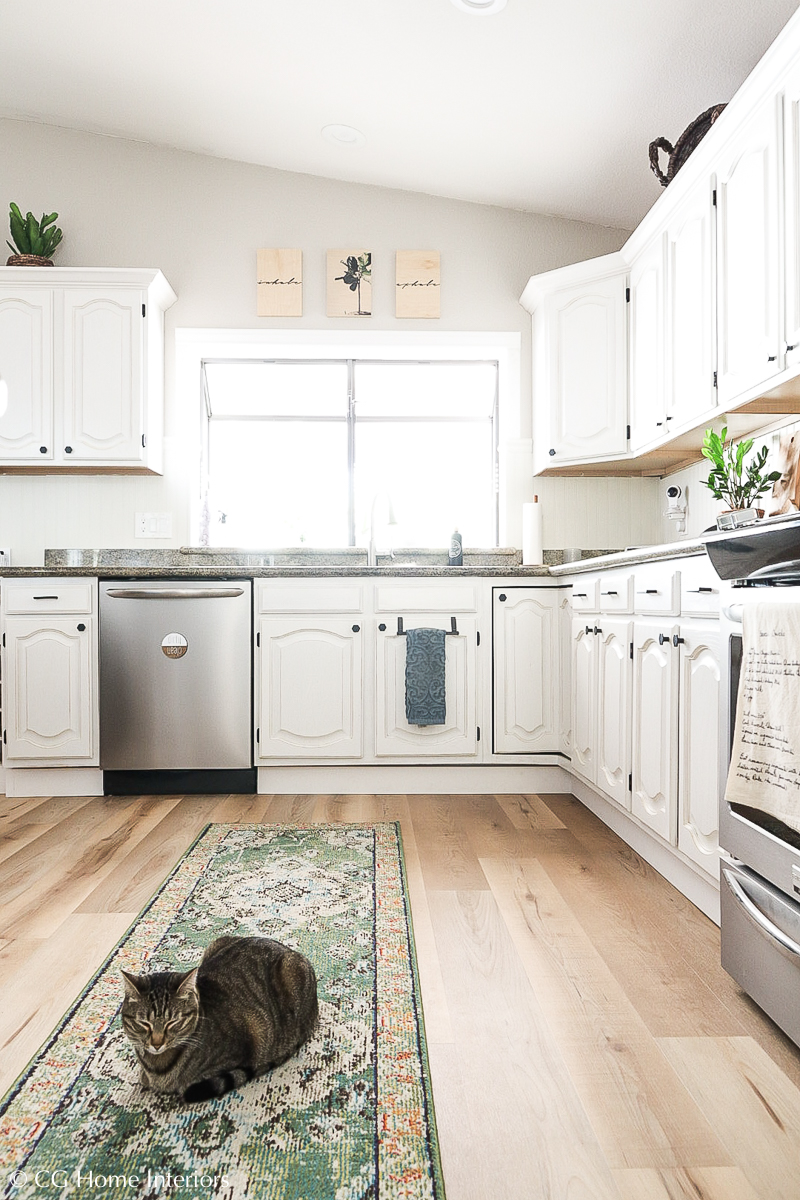
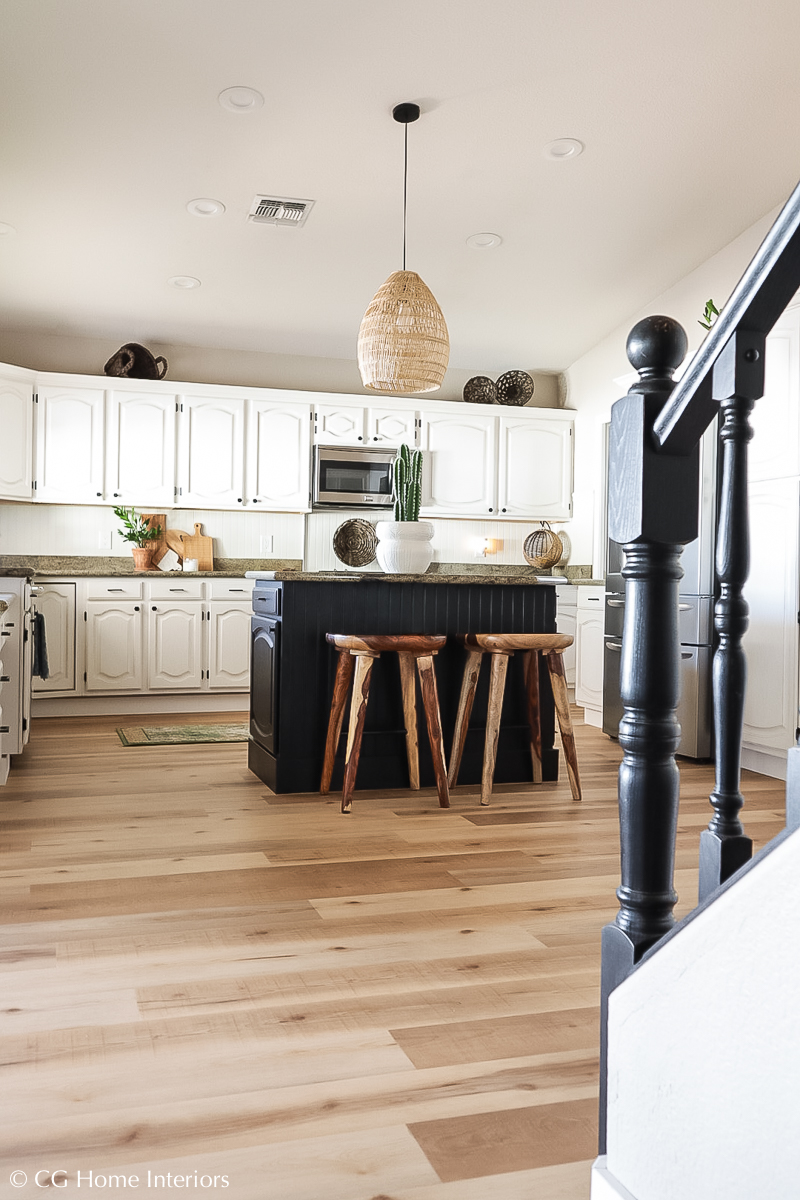
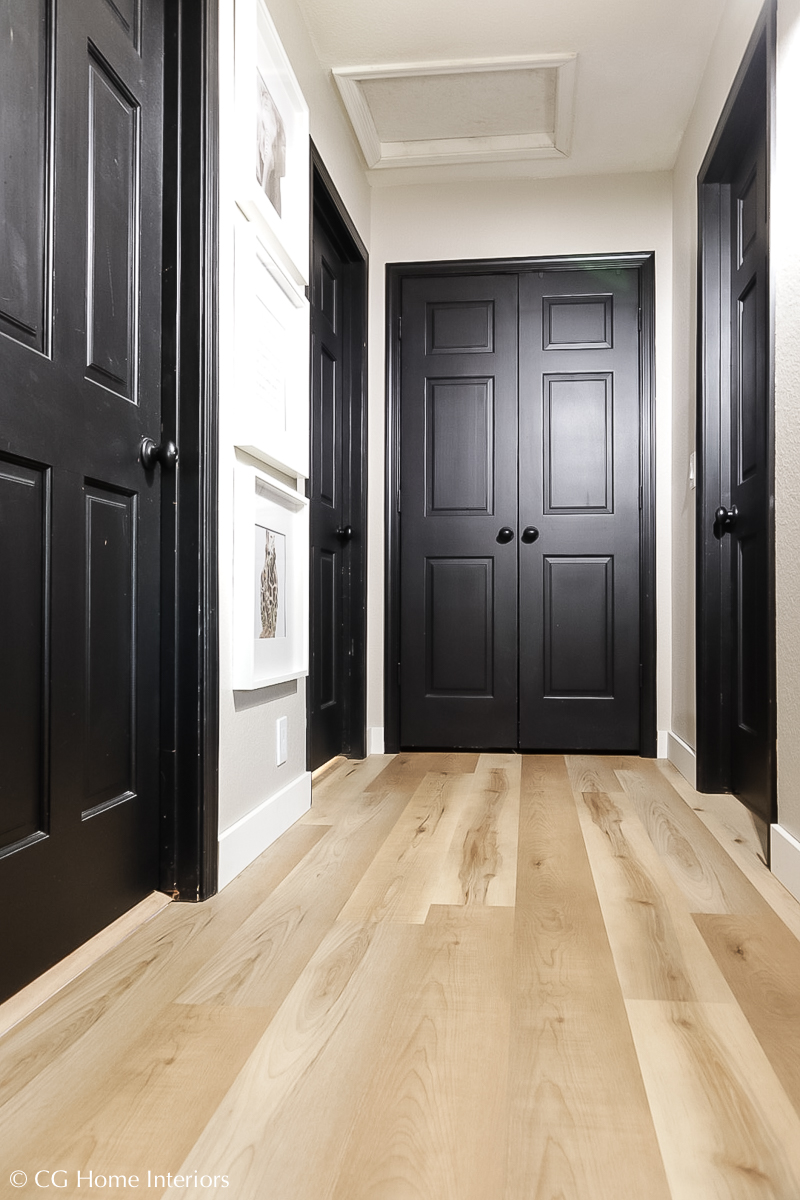
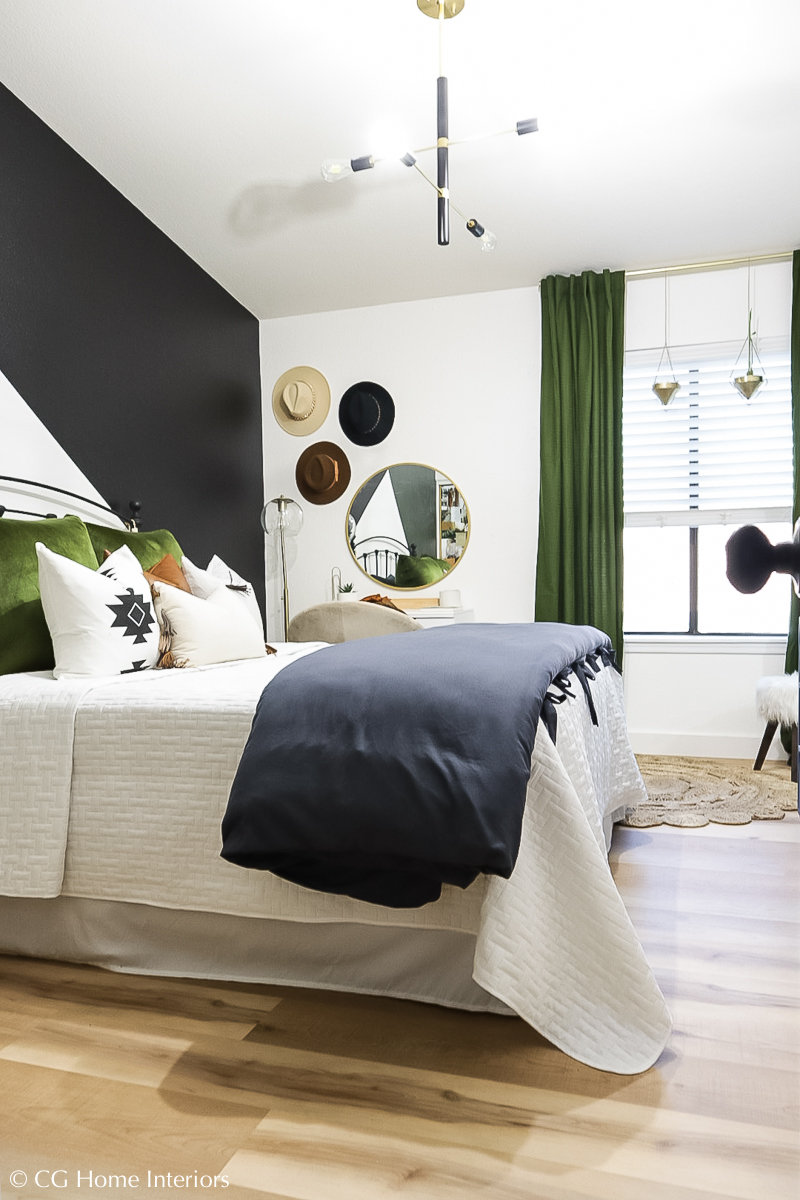

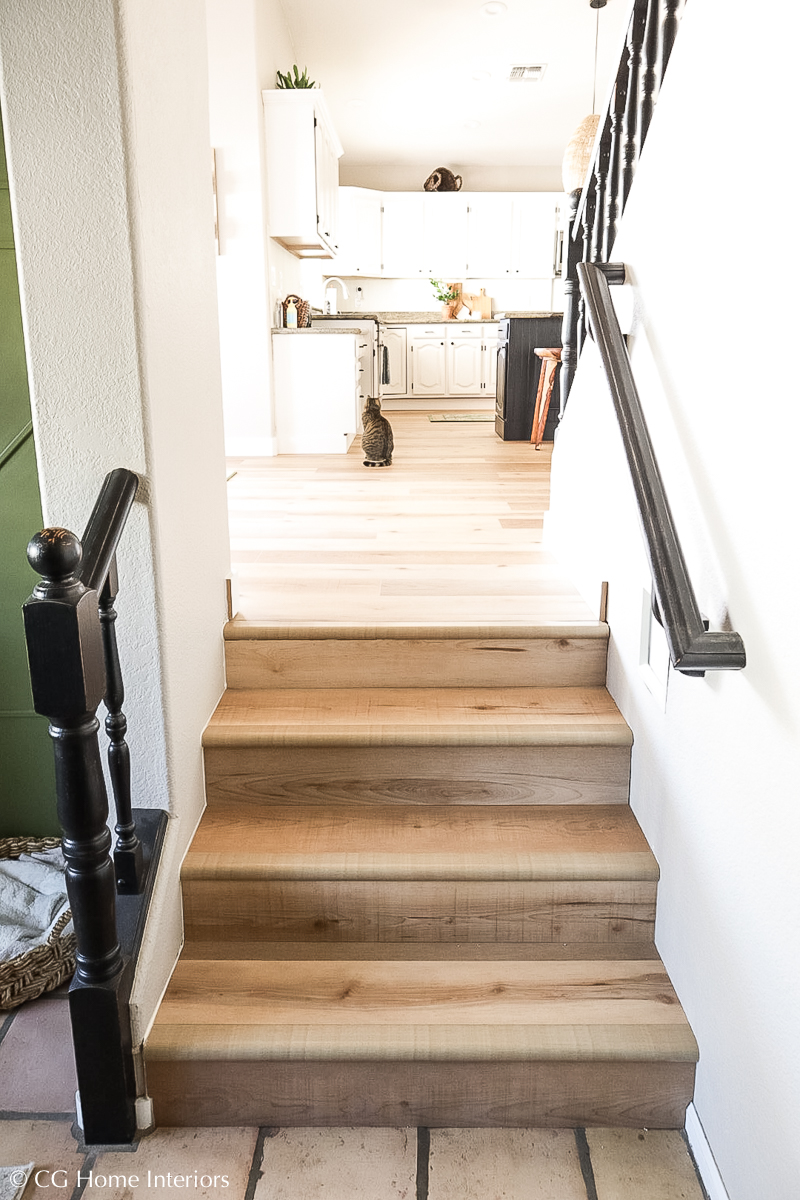

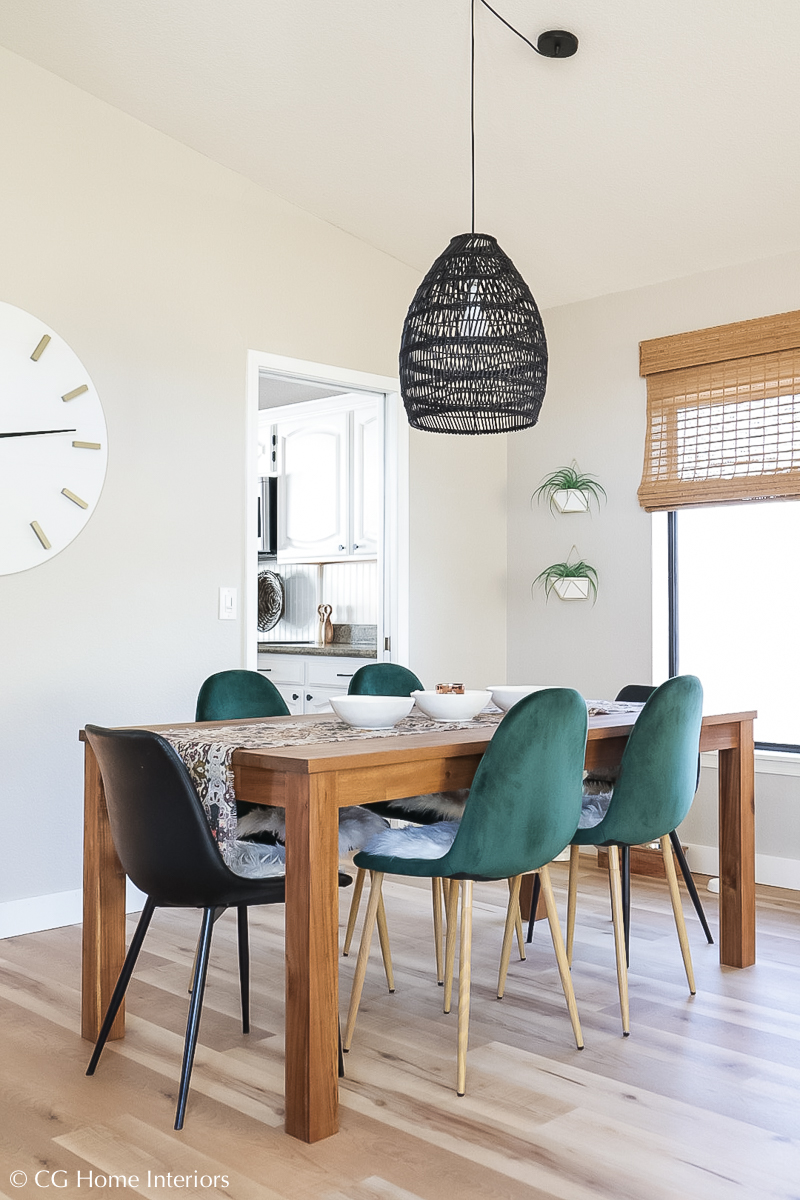
I'm LOVE with the tones this flooring pulls from every angle and every lighting situation! Everything is so much more open and bright.
Now I’m finishing up the new baseboards and building a wooden vent hood cover over our range in the kitchen. Once I get in DIY mode, it’s hard to stop!
Add new comment